13 Gifts Every Gardener and Homesteader Will Love

13 Gifts Every Gardener and Homesteader Will Love

If you have anyone on your gift list who is an aspiring homesteader or beginner gardener than this is your ultimate gift list.

To be honest, this is basically MY wish list.

Several items included in the list I already own and use.  I wanted to share them with you because I LOVE them.  Others, I just really want myself.

There is something for everyone on this list so hopefully, you can find something for the gardener/homesteader in your life!

I also want to include an extra affiliate disclaimer here.  Please assume that all external links to products are affiliate links. I am an affiliate for Amazon and Burpee.  I am including only products that I trust and own or would purchase and use myself.  I do receive a small percentage for any purchase made using these links, with no extra cost to you.   Please be assured that an affiliate relationship does not and will not influence my opinion on a product.  I choose to be an affiliate ONLY with companies that I trust, use, and would confidently recommend to my readers.

Books and Resources

1) Gardening Journal

One thing that I am really going to improve this gardening season is my notetaking and planning process.

I am not great awful at notetaking and I am even worse at remembering notes that I was supposed to take.  I always think that I am going to remember the details like; what kind of seeds we used, what type of pests were a problem, or how long we waited to harvest a particular vegetable, and I can never remember any of it.

THIS YEAR I will be purchasing a good gardening journal and really spend some time taking notes.  Any gardener would love a pretty and organized journal. It is a thoughtful gift for any occasion!

This journal got some great reviews on Amazon, but if you aren’t crazy about this one, there are hundreds to choose from!

2) “Welcome to the Farm”

by Shaye Elliott

I bought this book for myself after reading rave reviews about how it is the ULTIMATE beginner homesteader book.

First of all, the photos in the book of her homestead and life are just beautiful.  Her story and journey to homesteading is inspiring and really helped me hone the vision of what I wanted for our homestead.

I have only read parts of it and will read more as I take on the different homesteading projects that she writes about but I think this is an awesome book for anyone interested in homesteading.  It is a really great inspiration to take the plunge.

I can’t wait to read more of it.

3) “The Chicken Chick’s  Guide to Backyard Chickens”

by Kathy Shea Mormino

I have heard great things about this book. I have not read it myself but I would love to purchase it when I get closer to planning my chicken coop this spring.

I originally heard the author, Kathy Shea Mormino, speak on the “Living Homegrown” podcast that I frequently listen to and she was so knowledgeable about all things chickens that her book is on the top of my list of resources when it comes time to planning.

Kitchen Tools and Gadgets

4) Rapid Thaw Defrosting Tray

I want this now!  I am constantly forgetting to pull our meat for dinner out of the freezer.  While I would hope that the Homesteader in your life is more organized with their meals than I am, I am sure they forget once in a while.

Defrosting frozen meat is a necessity for every Homesteader so this tool will be perfect for them (or really any cook you know!)  This Defrosting Tray has gotten great reviews on Amazon.  This holiday, I plan to get one for several of our family members.

Getting a gift that will solve a problem for your loved ones is awesome, and forgetting to take out the ground beef and having to resort to frozen pizza for dinner can definitely be a problem.  It is also highly affordable.

5)  Lodge Cast Iron Skillet

I wrote a previous post on the cleaning and care of cast iron pans.  When I first started using them, I had to clean the rust and dust off of them.  They also needed to be reseasoned.

Since then, I use my Lodge Cast Iron Skillet several times a week.  I love it, and I swear it makes me a better cook!

They are actually very affordable, durable, and a great gift for any new cook.

6)  Kitchen Compost Pail

This compost pail would be an awesome gift for anyone interested in composting. 

A couple years ago, I began composting and my husband built me a compost bin made out of cinderblocks up in the woods on our property.

Needless to say, it is far walk from the house and not one I wanted to take on a daily basis.

I reused a coffee container as my kitchen compost bin but this pail would be awesome to have to keep under the sink.

Click the Image above to check out compost pail on the Burpee website

7)  Herb Scissors

These herb scissors look awesome!  I am not great at dicing herbs and these would save me so much time.

For the gardener who enjoys growing and using fresh herbs, these would be a perfect stocking stuffer!

Click the Image above to check out herb scissors on the Burpee website

Garden Tools

8)  Felco F-8 Classic Pruner

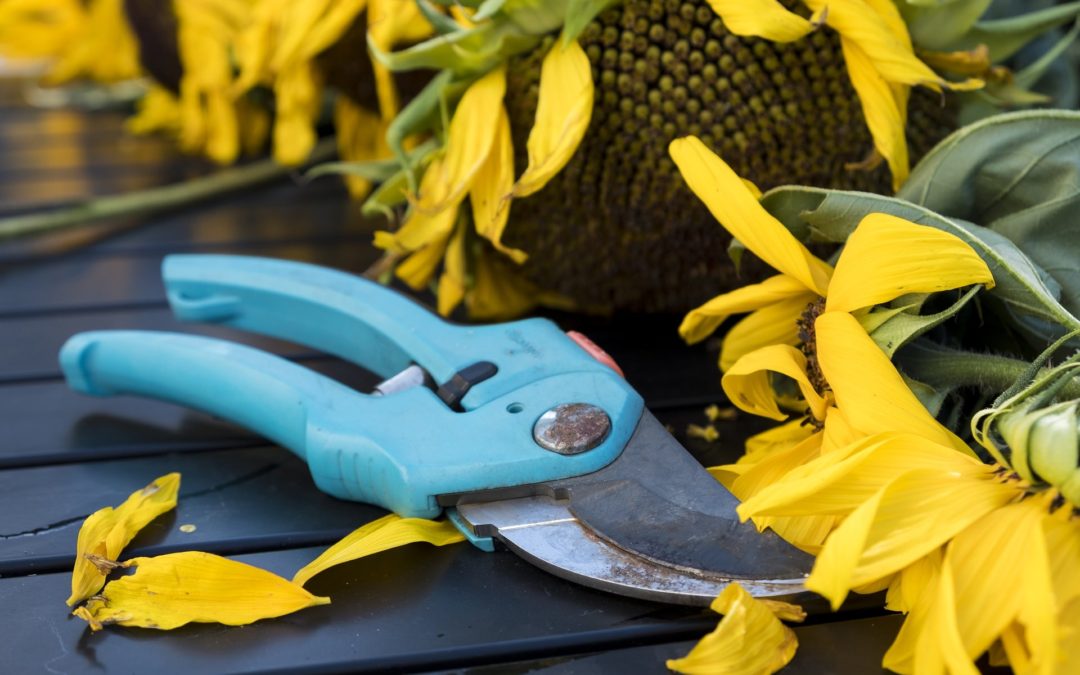
Every gardener needs a good pair of hand pruners.  A good hand pruner is a necessity.

I previously posted an article on choosing the best garden hand pruner for any job. The Felco F-8 Classic Pruner came out on top.

While the price tag is heftier than other garden hand pruners, the reviews show that this pair is well worth the price.

You do not want to purchase a cheap hand pruner. They can be dangerous and most will not last more than one season.

Invest in a good one for the gardener on your list and they will thank you for many seasons to come!

9)  Gardening Cart

This gardening cart would be such a thoughtful gift for anyone.  According to the description, it is easier to use than a wheelbarrow!

It would be so helpful to have this type of cart when doing gardening or yard work.  It looks durable and easy to use!

Click Image above to check out Gardening Cart on the Burpee website

10)  Gardening Hat

I really want to purchase a hat this season and this one is really cute.

It is unisex so it would work for anyone on your list.

This hat would protect them and let them look the part of expert gardener!

11) Burpee Gift Card

You can start planning your garden at any time of year! It is never to early to start.

For the person in your life who loves to garden, a Burpee Gift Card is the perfect gift.

Soon they will be busy planning which vegetable and fruit they will start from seed indoors and which ones they plant directly in the ground.

Even a seasoned gardener loves to try something new, and a gift card will give them the freedom to do so this spring!

Burpee has everything you need for seeds so it really is a one-stop shop. I have used it for our seeds in the past and they have been wonderful!

Click the image above to check out the gift card options on the Burpee website

Food Preservation Tools

12)  Herb/Flower Drying Rack

I would love how this rack would look hanging in my kitchen or pantry in preparation for making dried spices. 

It is compact but can accomodate a good number of herb bunches at one time. It is also a very affordable gift for anyone interested in preserving thier herbs or flowers.

Click the image above to check out the herb drying rack on the Burpee website

13) Easy Ferment Kit

I am not experienced in fermenting so I would definitely want to purchase a kit when I first start learning.

While I have made some vinegar without any special tools, I would love to purchase a kit and ferment some vegetables in the future.

This kit is the best rated one on Amazon and the reviews are really good.


7 Cozy Hot Toddy Recipes to Enjoy This Winter

7 Cozy Hot Toddy Recipes to Enjoy This Winter

Like many of you, I drink several cups of coffee a day.  I don’t typically drink hot tea, however when the weather starts to get chilly (here in Maryland that is around the end of September) you really can’t beat an awesome cup of hot tea.

A Hot Toddy to be exact.

A Hot Toddy is traditionally a hot drink of honey and herbs mixed with liquor such as scotch, bourbon, or whiskey. An evening Hot Toddy  is one of my favorite things about fall and winter.

My go to for a long time has always Celestial’s Sleepytime tea with some sugar or honey and a shot of bourbon. It is an awesome nightcap. However, after discovering that the main ingredient, Chamomile, is a natural blood thinner,  I decided to try some alternative recipes to change it up a bit.

One of my FAVORITE Companies to buy looseleaf tea from is Farmhouse Teas.

Read on for some awesome hot toddy recipes to make your fall/winter cozy and warm!


Your 1st Step to a Simple Living Lifestyle!


A great place to start with Simple Living is to start making your own cleaning and personal products!

With this FREE eBook, you can easily get started with over 10 quick but effective recipes that use ingredients you already have in your house!

1) Hot Cinnamon Chai

Cinnamon Chai tea truely encompasses the essence of fall for me. It is just the perfect fall drink, alcohol or not.

Don’t forget to add the milk! It is a chai tea if it isn’t brewed with both hot water and hot milk.

Let me know what you think!

 Hot Cinnamon Chai

Ingredients

  • 12 oz Hot Water
  • 2 Twinings Chai tea bags
  • 2 tbsp sugar
  • 1 splash milk
  • 1 oz Cinnamon Liquor We used Fireball

Instructions

  1. Add boiling water to a mug.

  2. Seep tea bags in hot water according to directions.

  3. Add sugar, liquor, and milk.

  4. Garnish with star anise and cinnamon sticks.

Click image above to check it out on Amazon

2) Traditional Hot Toddy

Traditionally used as a cold remedy, I was a little skeptical because it is essentially hot watered down bourbon, which isn’t too appealing.

However, with the lemon and honey, it really transforms into an soothing and refreshing hot drink.

I could see it working wonders for a cold.

Give it a try!

Traditional Hot Toddy

Servings 1

Ingredients

  • 12 oz Hot water
  • 1 1/2 oz Bourbon We used Jim Beam
  • 1 tbsp honey
  • 1 lemon slice
  • 4 drops lemon juice

Instructions

  1. Add boiling water to a mug.

  2. Add bourbon

  3. Add honey, lemon slice, and lemon juice

3) Refreshing Mint

I expected not to like this one. I was worried that it would be too minty but it was DELICIOUS. The perfect amount of sweet mint, not harsh mint flavor.

I DEFINITELY recommend. In fact, this has become a regular for me. Hope you enjoy!

Refreshing Mint Hot Toddy

Ingredients

  • 12 oz Hot water
  • 1 Bigelow Mint Medley tea bag
  • 1 1/2 oz Peppermint Schnapps We used Leroux Peppermint Schnapps
  • 2 tsp sugar

Instructions

  1. Add boiling water to a mug.

  2. Seep tea bag in boiling water according to directions.

  3. Add Peppermint Schnapps and sugar.

Click image above to find Bigelow Mint Medley Tea on Amazon

4) Soothing Night Cap

This is my original go-to recipe and one that I still have quite often.  It is soothing, relaxing and sweet.  It really adds a cozy feel to your evening.

Soothing Night Cap Hot Toddy

Ingredients

  • 12 oz Hot water
  • 1 Bigelow Sweet Dreams tea bag
  • 1 oz Honey Irish Mist
  • 2 tsp sugar

Instructions

  1. Add boiling water to a mug

  2. Seep tea bag in boiling water according to instructions.

  3. Add Honey Irish Mist and sugar.

Click image above to find Celestial Sleepytime Tea on Amazon

Your 1st Step to a Simple Living Lifestyle!


A great place to start with Simple Living is to start making your own cleaning and personal products!

With this FREE eBook, you can easily get started with over 10 quick but effective recipes that use ingredients you already have in your house!

5) Egyptian Licorice

I really did not know what to expect with this one. I hear “licorice” and I am it to taste like black jelly beans. This did not! It was surprising sweet with a little bite but very pleasant!

Let me know what you think!

 Egyptian Licorice Hot Toddy

Ingredients

  • 12 oz Boiling water
  • 1 Yogi Egyptian Licorice tea bag
  • 2 tsp honey
  • 1 oz Jim Bean Bourbon

Instructions

  1. Add boiling water to a mug.

  2. Seep tea bag in boiling water according to instructions.

  3. Add honey and bourbon.

Click image above to find Yogi Egyptian Licorice Tea on Amazon

6) Lemon Lavender Hot Toddy

While I love the smell of lavender, I don’t know if I have ever TASTED it. I wasn’t sure how this one would go but I was pleasantly surprised.

It has a refreshing, floral scent as you would expect and was really quite nice.

The Disaronno is sweet on its own, so you do not need to add additional sweetener.

Try the recipe!

Lemon Lavender Hot Toddy

Ingredients

  • 10 oz Hot water
  • 1 Celestial Lemon Lavender Lane tea bag
  • 1 oz Ameretto Liqueur (Disaronno)

Instructions

  1. Add boiling water to a mug.

  2. Seep tea bag in boiling water according to instructions.

  3. Add Disaronno.

  4. Stir thoroughly.

Click image above to find Celestial Lemon Lavender Lane Tea on Amazon

7) Spicy Ginger Hot Toddy

Wow, I really enjoyed this one!

It was spicy, but not HOT spicy.

The ginger in this tea is flavorful and adding some cinnamon whiskey creates another layer of spice.

This recipe will become a regular evening treat.

Give it a try!

Spicy Ginger Hot Toddy

Ingredients

  • 10 oz Hot water
  • 1 Yogi Ginger tea bag
  • 1 oz Cinnamon Whiskey We used Fireball.
  • 2 tsp honey

Instructions

  1. Add boiling water to a mug.

  2. Seep tea bag in hot water according to instructions.

  3. Add Cinnamon Whiskey and honey.

Click image above to find Yogi Ginger Tea on Amazon

Your 1st Step to a Simple Living Lifestyle!


A great place to start with Simple Living is to start making your own cleaning and personal products!

With this FREE eBook, you can easily get started with over 10 quick but effective recipes that use ingredients you already have in your house!

How to Choose the Best Garden Hand Pruner for Any Job

How to Choose the Best Garden Hand Pruner for Any Job

One of the most important and most used tool of a gardener are hand pruners.  It is one of those tools that a gardener will have with them every time they head out to the garden.  Just about every time I head out to our garden to do something whether it be water, check on an ongoing problem, pick anything that is ready, I find some reason to pull out a set of garden hand pruners.  It has become one of those tools I take with me for every trip to the garden. After putting away our gardening gear for the season, I realized that we really need a new garden hand pruner for next season.

If you are serious into gardening or yard care, it will probably be beneficial for you to have one of each type of hand pruner. Regardless of what type of prune you determine you need, there are a few aspects to consider when choosing one.

When choosing pruner of any kind, look for these features:

  • comfortably fit into your hand
  • be lightweight
  • should be able to be locked one-handed.
  • have blades coated to reduce friction and rust
  • have blades that are durable and able to be resharpened.
  • Bonus: Company sells replacement parts, this means they intend for the product to last a long time and are not disposable after one season.

Not all hand pruners are the same and there are some brands that are far superior to others.  This article will focus on the different kinds of hand pruners so that you can choose which one best fits your needs.  It will also look at the differences between brands Some aspects we considered were, type of grip, locking mechanism, shape of blade, customer reviews, and price.

What type of hand pruner do I need?

There are three main types of hand pruners:


  • Bypass Pruners
  • Anvil Pruners
  • Snips

Brand Comparison

There are so many gardening pruner brands on the market today. Many of them are just junk. Dull blades, faulty locking mechanisms, loose screws and springs. I have bought my fair share of cheap (under $5) pairs in the past.  A good pair of gardening pruners that will last you multiple seasons is something worth researching prior to purchasing. We compared a number of popular brands in this article and summarize which ones may be the best fit for you.

Bypass Pruners

These types of pruners have a curved blade on top and a curved hook on the bottom. The curved hook on the bottom is used to hold the branch in place while the curved blade on top makes a clean cut.  Bypass pruners are used on live plants because it allows for a clean cut that will not damage the branch or stem of the plant.

Anvil Pruners

These pruners have a sharp blade on top and a flat plate on the bottom blade. The blade will come in contact with the plate and will smash the branch, breaking it into pieces. These are intended to be used on dead limbs and branches. If used on live plants, it could damage and kill them.

Brand:Fiskars
Smooth Action Anvil Pruner
Felco F-31 Anvil Pruning Sheargonicc
Anvil Pruning Shears
Corona
AP 3110 Anvil Hand Pruner
Image:
Price:$$$$$$
Cutting ability:1 in diameter branches1 in diameter branches1 in diameter branches3/4 in diameter branches
Weight:N/A10.9 ounces6.4 ounces7.8 ounces
Material:SteelBlades are made of steel. Handles are made of forged aluminum.Blade is ultra-fine polishing SK-1 steel.Blade is fully heat-treated steel with non-stick coating. Grip is vinyl-coated.
Blade design:Top blade has a low-friction coating that is designed to cut smoothly through branches and resist rust.Both top blade and bottom anvil plate are made of steel. Double gear level provides one-time cut. Easy-to-replace anvil and precision-ground blade.
Grip:Soft grip.Rubber non-slip gripShock absorption to soften impact and protect hand and wrist. Lightweight and comfortable.Pistol-grip handles are comfortable.
Locking Mechanism:Opening or closing is done by pushing an orange button and sliding it up or down.While squeezing the handles together, move the black locking mechanism to the left to unlock.Squeeze handles together whole holding in one hand, Use thumb to pull down metal safety lock. Squeeze while holding in one hand. Use thumb to push the metal latch into the notch.
Reviews:Numerous recent reviews said that the quality was bad. Locking button fails, blade damage and dulls after little use.Great reviews. Customers say these are the best and well worth the price. They report that this is a larger set of pruners so if you have smaller hand you should purchase their smaller model: Felco F-2 Manual Hand Pruner for Smaller Hands.Many positive reviews about product being a great value. A few negative reviews about large size of pruners.Very disappointing reviews. Many customers were unhappy with the quality of these pruners. Customers reported dull blades during first use.
Amazon Affiliate Link:See on AmazonSee on AmazonSee on AmazonSee on Amazon

Snips

These are sharp with scissor-like blades. They are perfect for deadheading flowers, trimming herbs, and shaping small plants.

Brand:Fiskars
Micro-Tip Pruning Snips
Felco F-310 Picking and Trimming Snipsgonicc Micro-Tip Pruning SnipCorona Thinning Shears
Image:
Price:$$$$$$
Cutting ability:Use for deadheading, trimming, and shaping small plants.Use for deadheading, trimming, and shaping small plants.Use for deadheading, trimming, and shaping small plants.Use for deadheading, trimming, and shaping small plants.
Weight:2.4 ounces4.6 ounces4.3 ounces4.3 ounces
Material:Fully hardened, precision-ground stainless steel blades.Blades are made of steel. Stainless steel blades and aluminum and PVC handles.Forged alloy steel blades and aluminum and rubber handles.
Blade design:Two sharp, precision blades with non-stick coating.Both blades are made of stainless steel. Two straight blades.
Grip:Comfortable Softgrip handlesHard plastic gripLightweight and comfortable, non-slip handlesCushioned, non-slip grip
Locking Mechanism:Squeeze handles together and slide orange button upwards.Metal locking mechanism can be locked/unlocked while holding in one hand.Black strap attached to one handle will be slipped over other handle.One handle has a small hook which will attached to a small ring located on the other handle.
Reviews:Customers reported very positive reviews about these snips. They said that the quality was good and that they easily cut through the flowers and herbs that they were using. Snips are used for very delicate cutting so naturally these snips would not see the size branches that would be cut with a bypass or anvil pruner.Excellant reviews. Customers rave about how easy these are to use and how they have held up after years of use.Awesome reviews about durability, strength, and ease of use. Comments say that these snips are worth the moneyAwesome reviews, Customers lover hoe lightweight they are and how cleanly the cut.
Amazon Affiliate Link:See on AmazonSee on AmazonSee on AmazonSee on Amazon

Best Pruners

Best Bypass PrunerBest Anvil PrunerBest SnipsIf you were only going to buy one hand pruner of any style
Corona BP 3180D Forged ByPass Prunersgonicc Anvil Pruning Shearsgonicc Micro-Tip Pruning SnipFelco F-2 Classic Hand Pruner
We chose this one as the best overall bypass pruner. Receiving excellent reviews, these pruners are reasonably priced. Owners speak to the durability and strength of these pruners. For these reasons, this set is the best value. These pruners received great reviews from customers about how good of a value they are. They are comfortable, affordably priced, and can be locked with one hand.Many reviews stated that these were worth the money. They are lightweight, and have sharp, precise blades.While the Corona bypass pruner came in at the top due to it's great durability and affordable price, if you were only going to purchase one hand tool for your gardening and yard needs, you should splurge and purchase the Felco Classic Hand Pruner.
See on AmazonSee on AmazonSee on AmazonSee on Amazon

Hopefully this post provided you with guidance on how to choose the type and brand of your next garden hand pruner.

After purchasing several cheap hand pruners over the last few years, I was looking for a long lasting hand pruner. After examining the features or these hand pruners, I planning to purchase the Felco F-2 Classic Hand Pruner for next season.


Are there any hand pruners that you have that you love? Any other types of pruners that are necessary for gardeners and homesteaders to own? Leave a comment below!

7 Easy Steps for Homemade Apple Cider Vinegar

7 Easy Steps for Homemade Apple Cider Vinegar

Making vinegar is not something that I have ever really thought about doing.  If you had asked me before how to make vinegar, I really wouldn’t have known where to start.  However, I have recently learned how to make it and it seemed so easy so I thought I would give it a shot!

This is the first time I am going to attempt to make it so we will see how it goes!

A little science lesson


Vinegar can be made in two ways.

1) The first way is done by taking an alcohol such as wine, beer, or cider and fermenting it with bacteria. The product of this reaction is vinegar.

2) The second way is done by making the alcohol with fruit scrapes first and then turning that alcohol into vinegar by fermenting it with a bacteria.

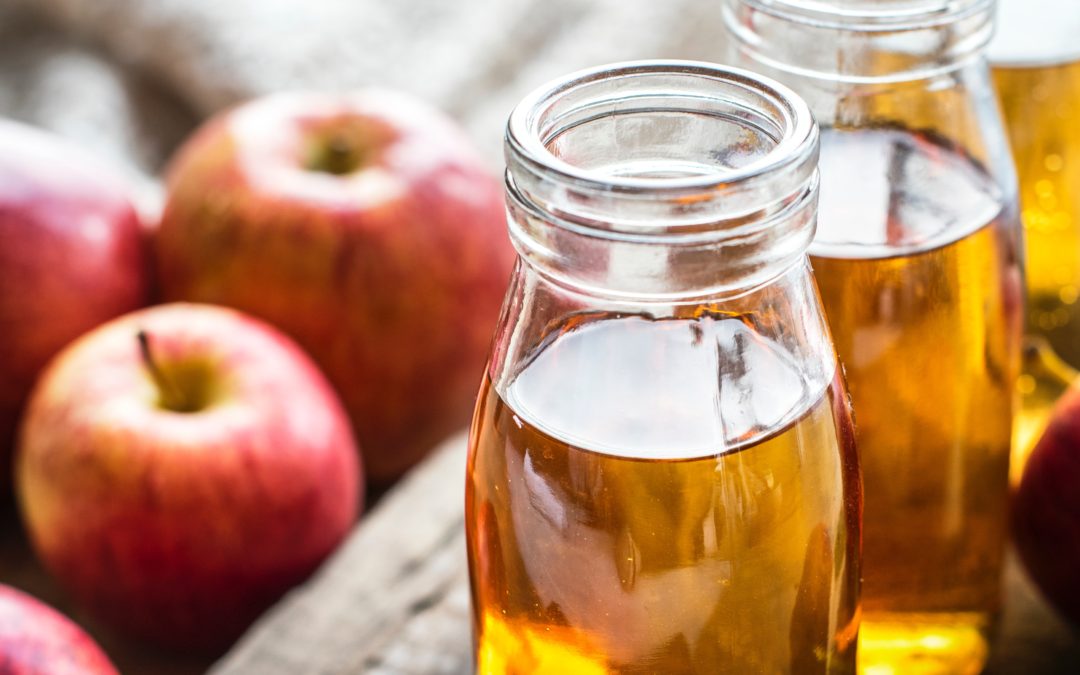
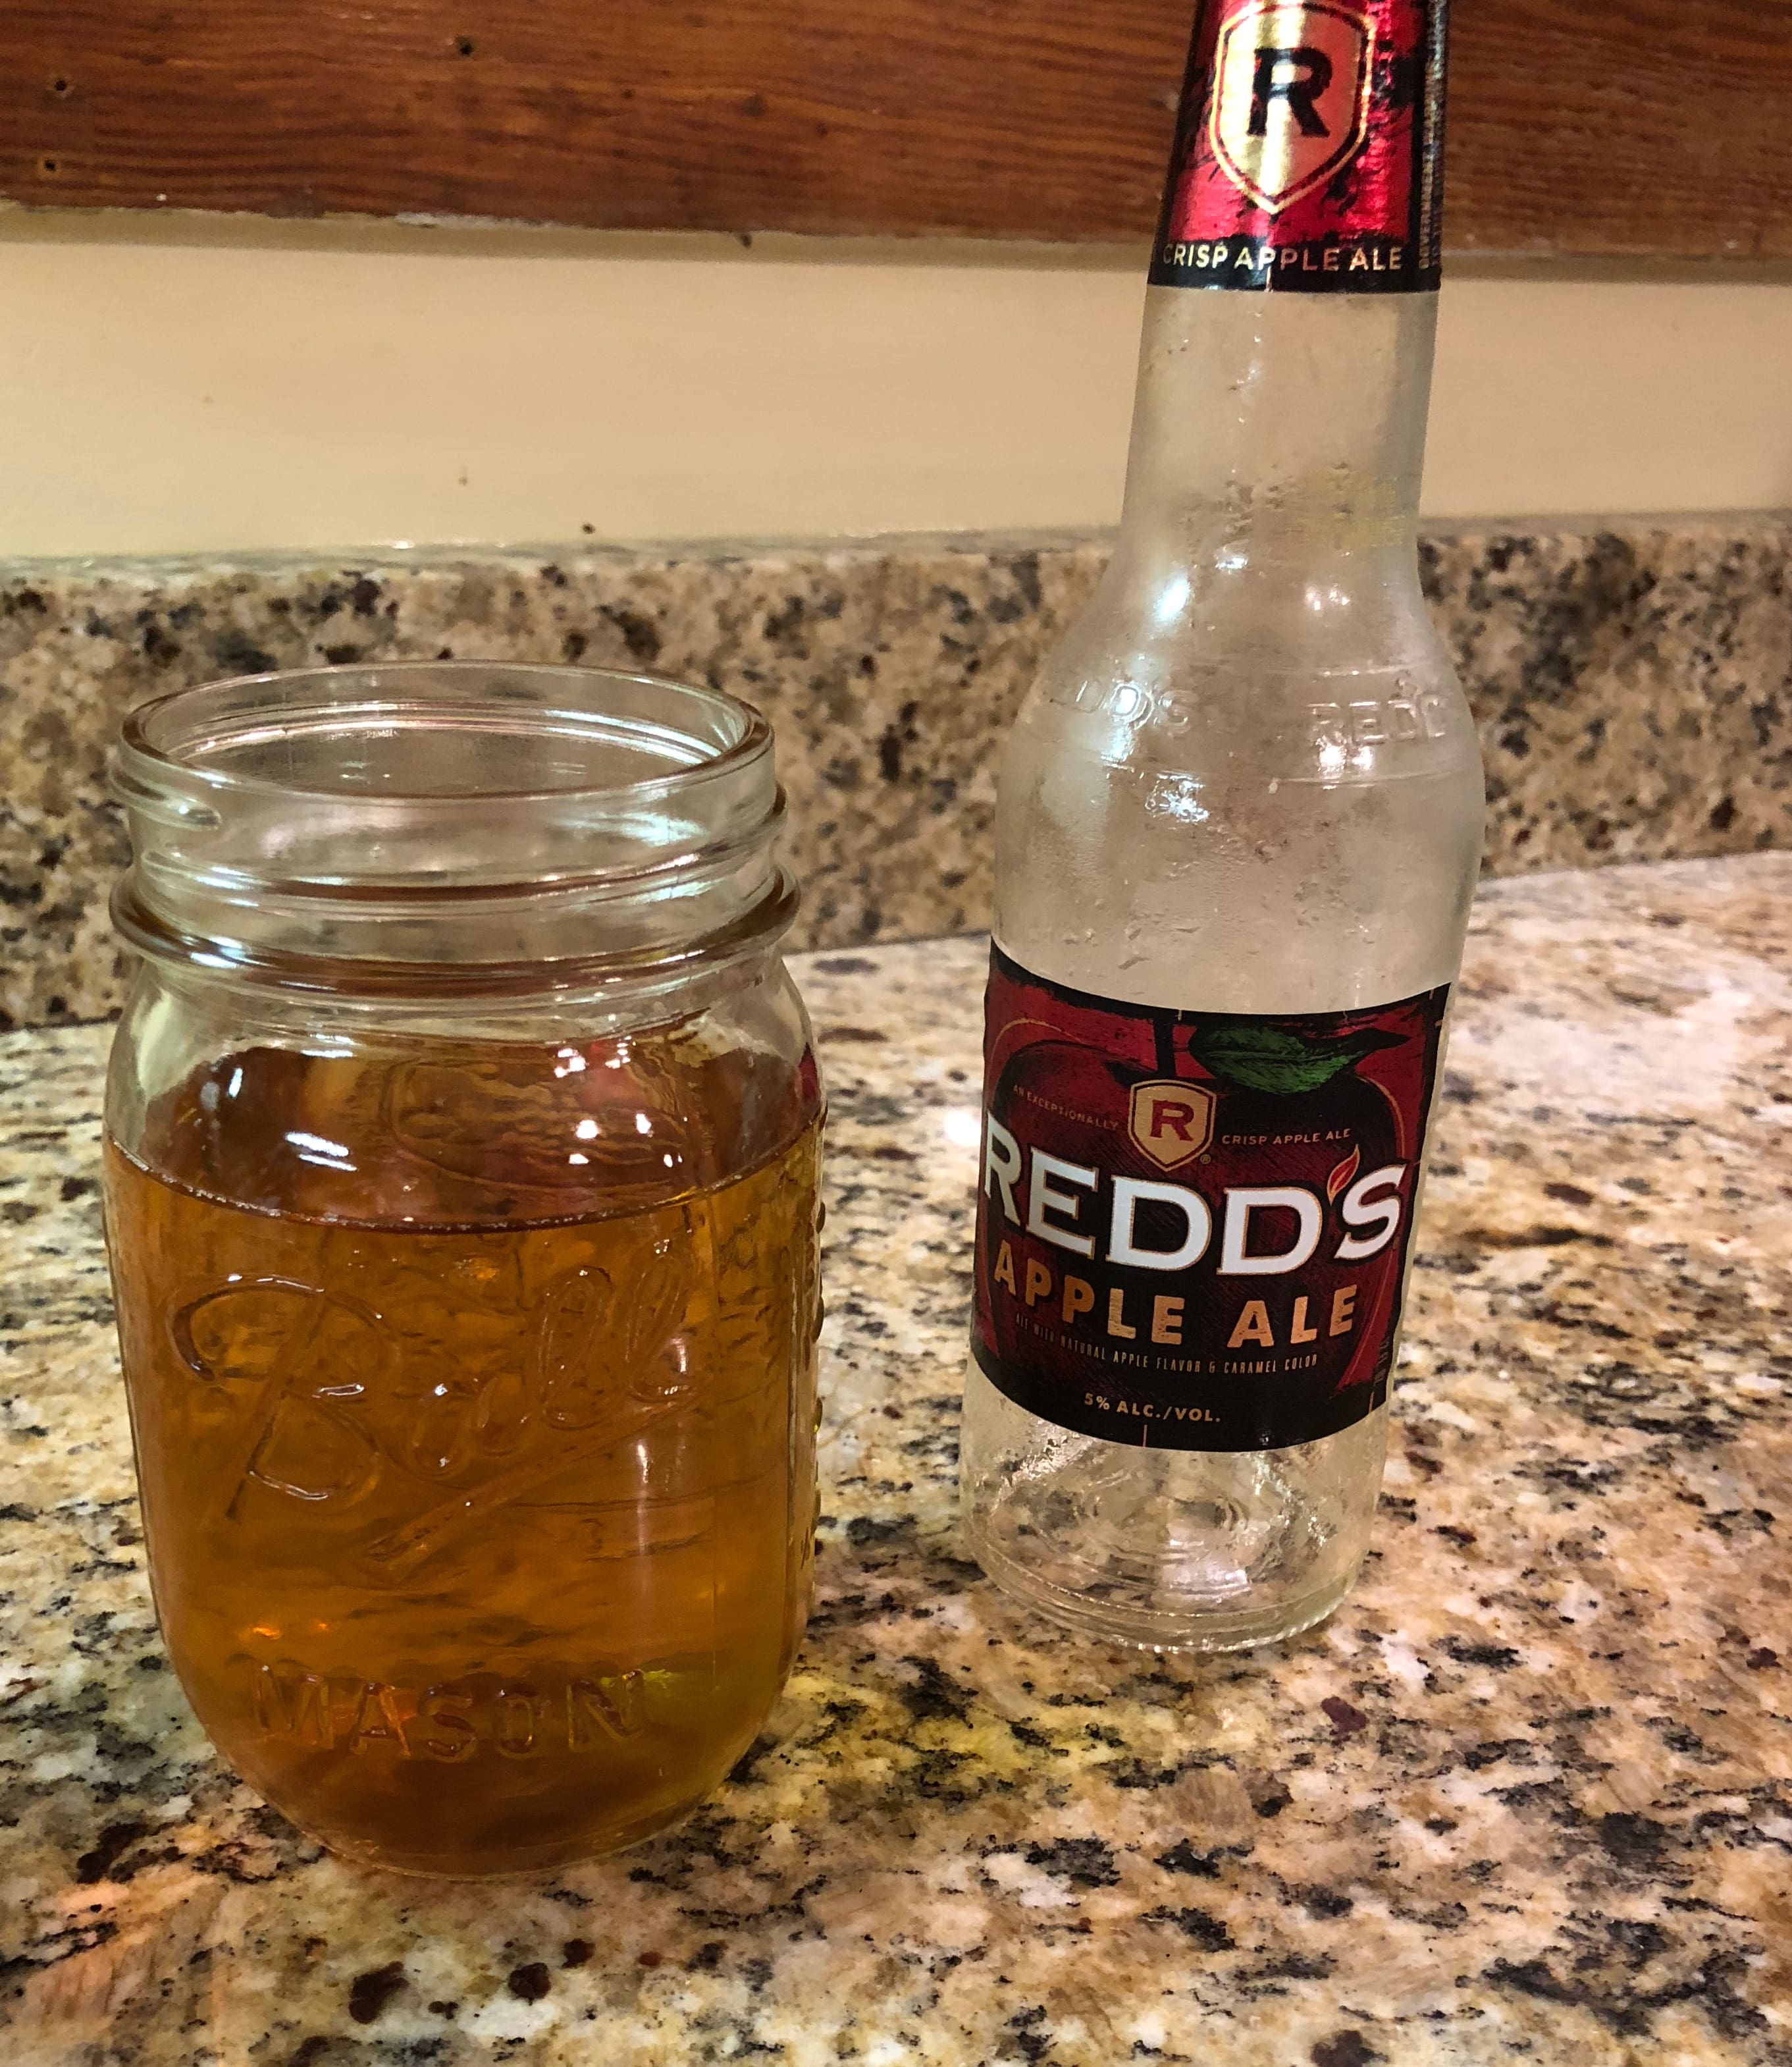
While I am using the first process this time, I definitely plan on making vinegar starting with fruit scraps at some point.  For my first attempt at making vinegar, I chose to use an old apple cider beer that has been sitting in my fridge for about 2 years.  Sounds like a great way to use something that I would normally throw away (and should have thrown away a long time ago) into something useful!

Once you have chosen your alcohol, you will need to have it undergo a process called fermenting.  In order to ferment it, you need a bacteria culture that will do the work.  This bacteria is often referred to as  scobys or symbiotic cultures of bacteria and yeast.  When the scoby is added,  it will work to eat the sugars in the alcohol. It then produces carbon dioxide and acetic acid. What you end up with as a  final product is a vinegar.

A scoby is also referred to as a mother.  It is called a mother because once you have grown a scoby, you will continue to use it as you make batch after batch of vinegar. The scoby becomes a mother that you use to produce more vinegar. I find this concept so interesting because as a mother grows, it becomes more and more active.  Apparently the older and more used a mother is, the better!

In the old times, an established mother of vinegar was considered a kitchen essential.  Women would pass down their vinegar mothers to their children and grandchildren and they would be treated as treasured heirlooms.  I love that idea! I am going to start my mother now and by the time my children are out of the house, they will have a vinegar mother of epic proportions to take with them. I am only half joking, however, I do think that it is a very sweet tradition and I wish it was still around today.

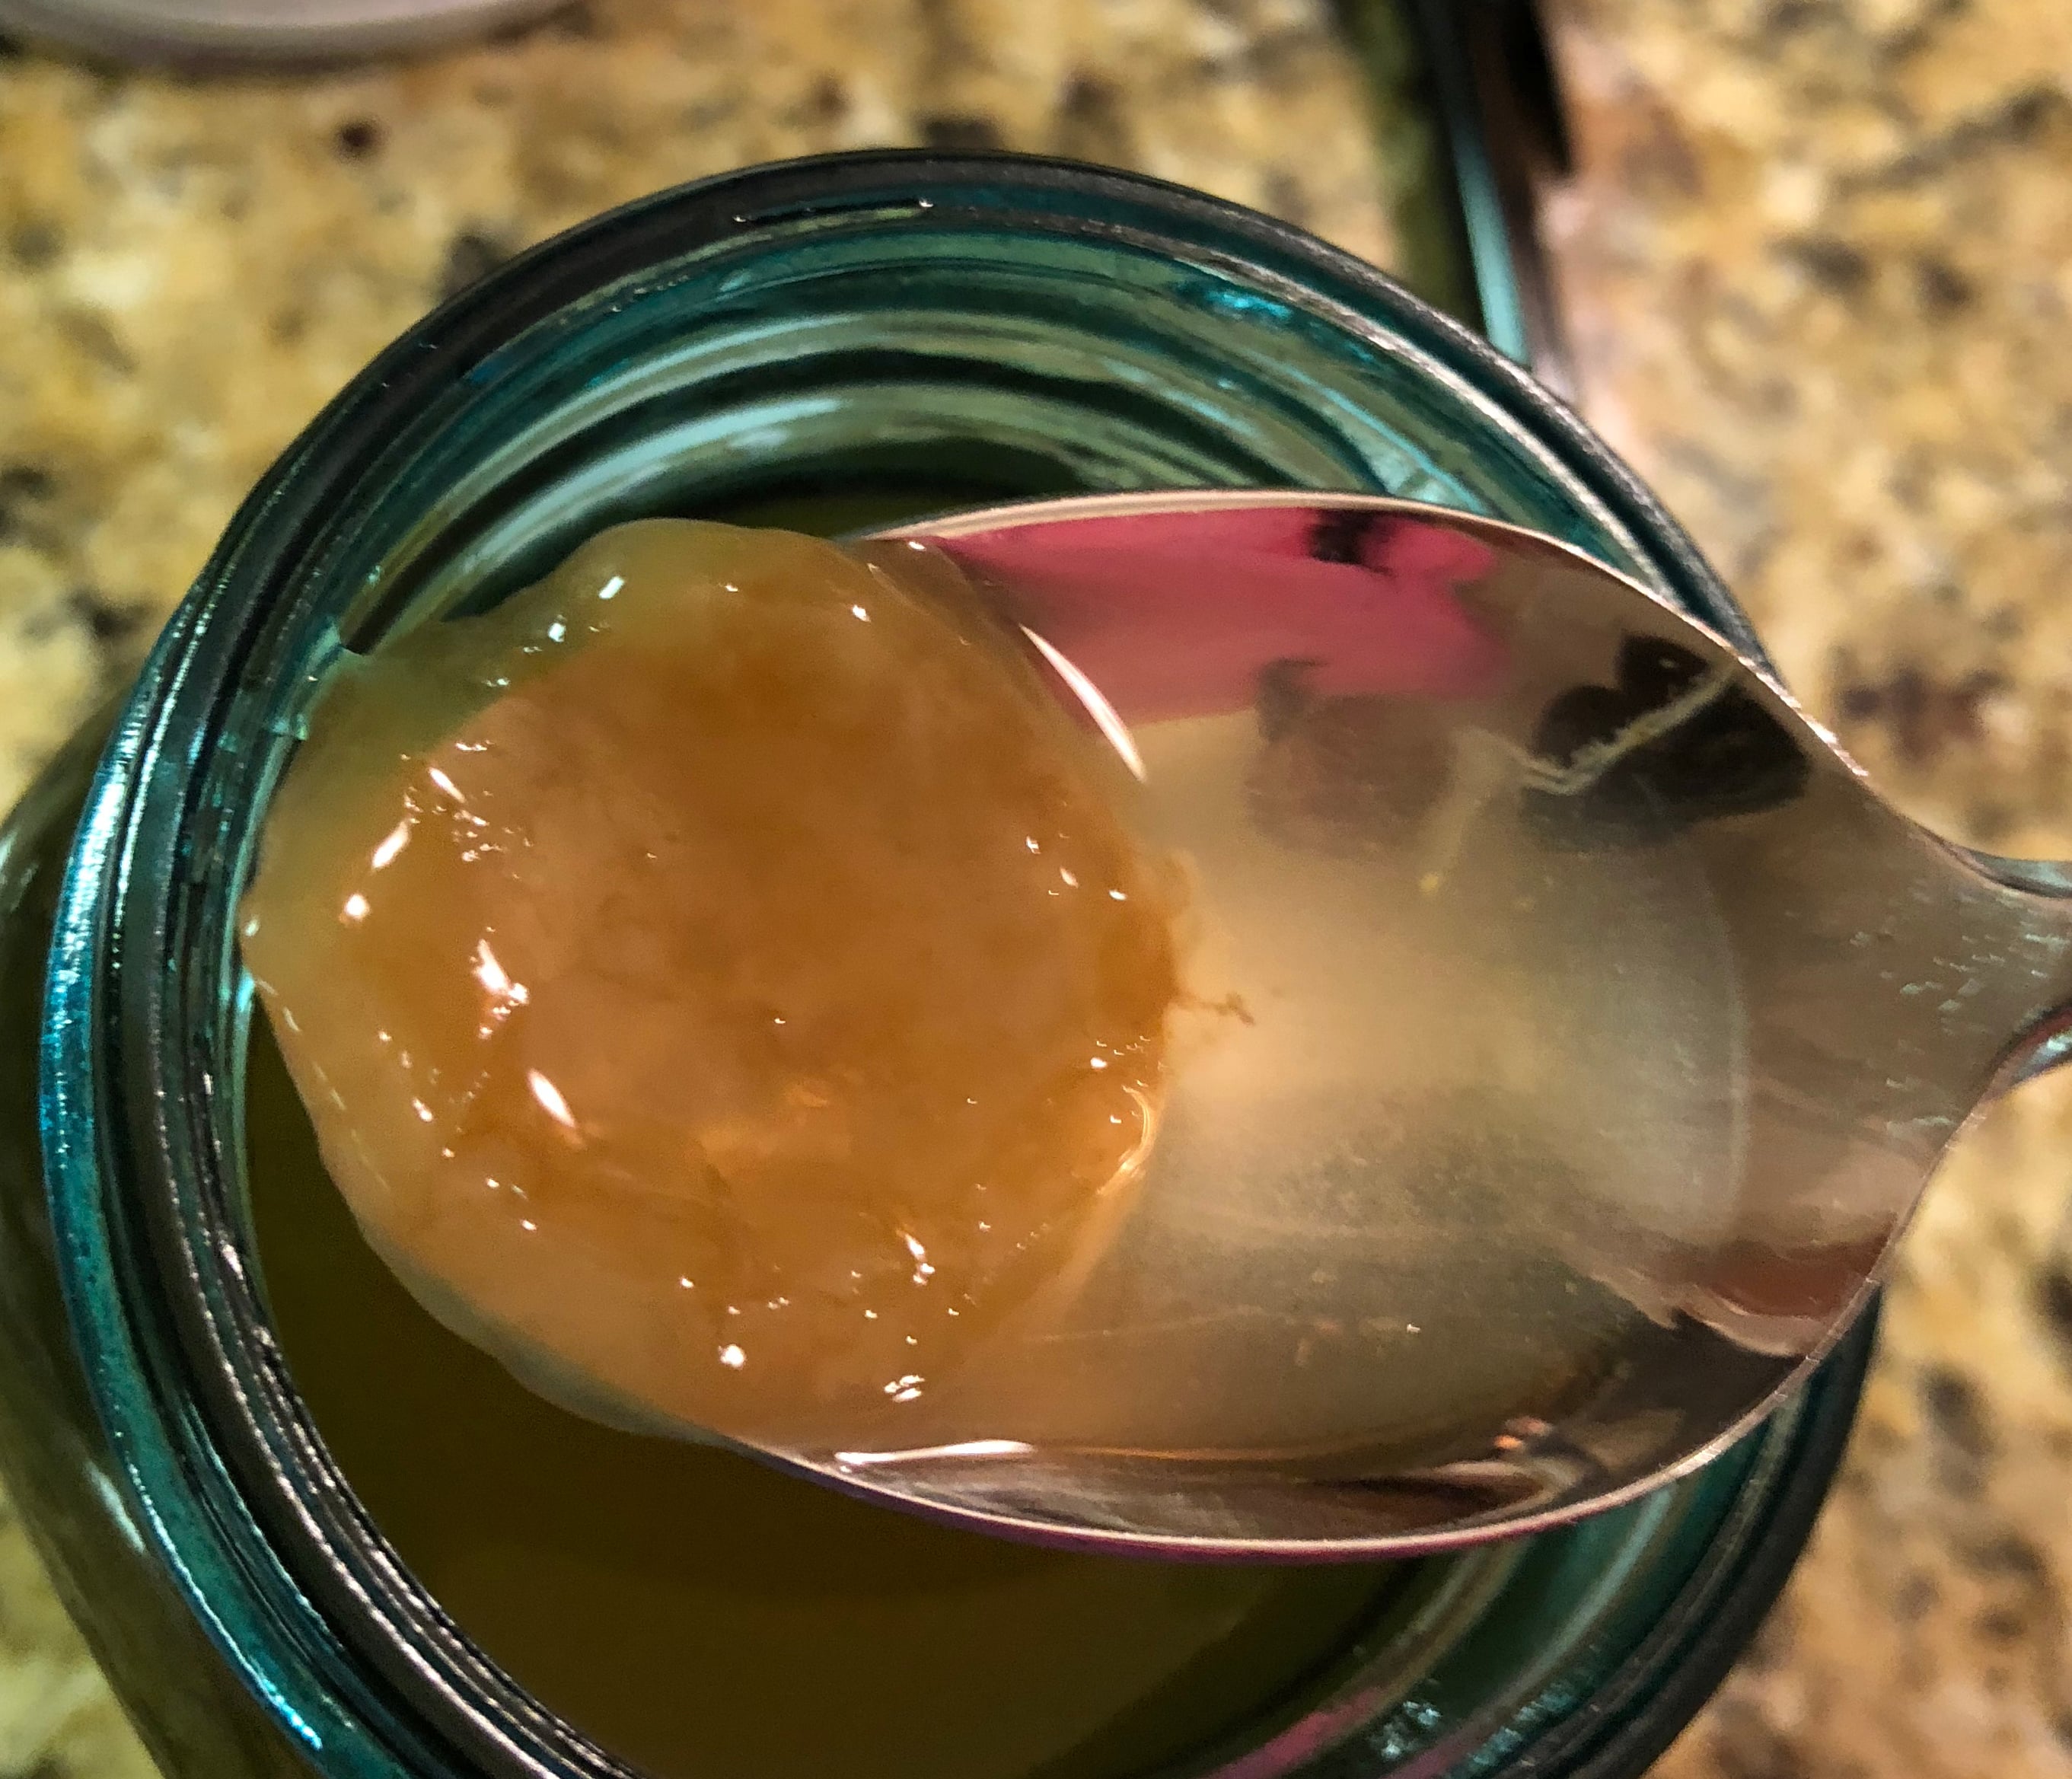
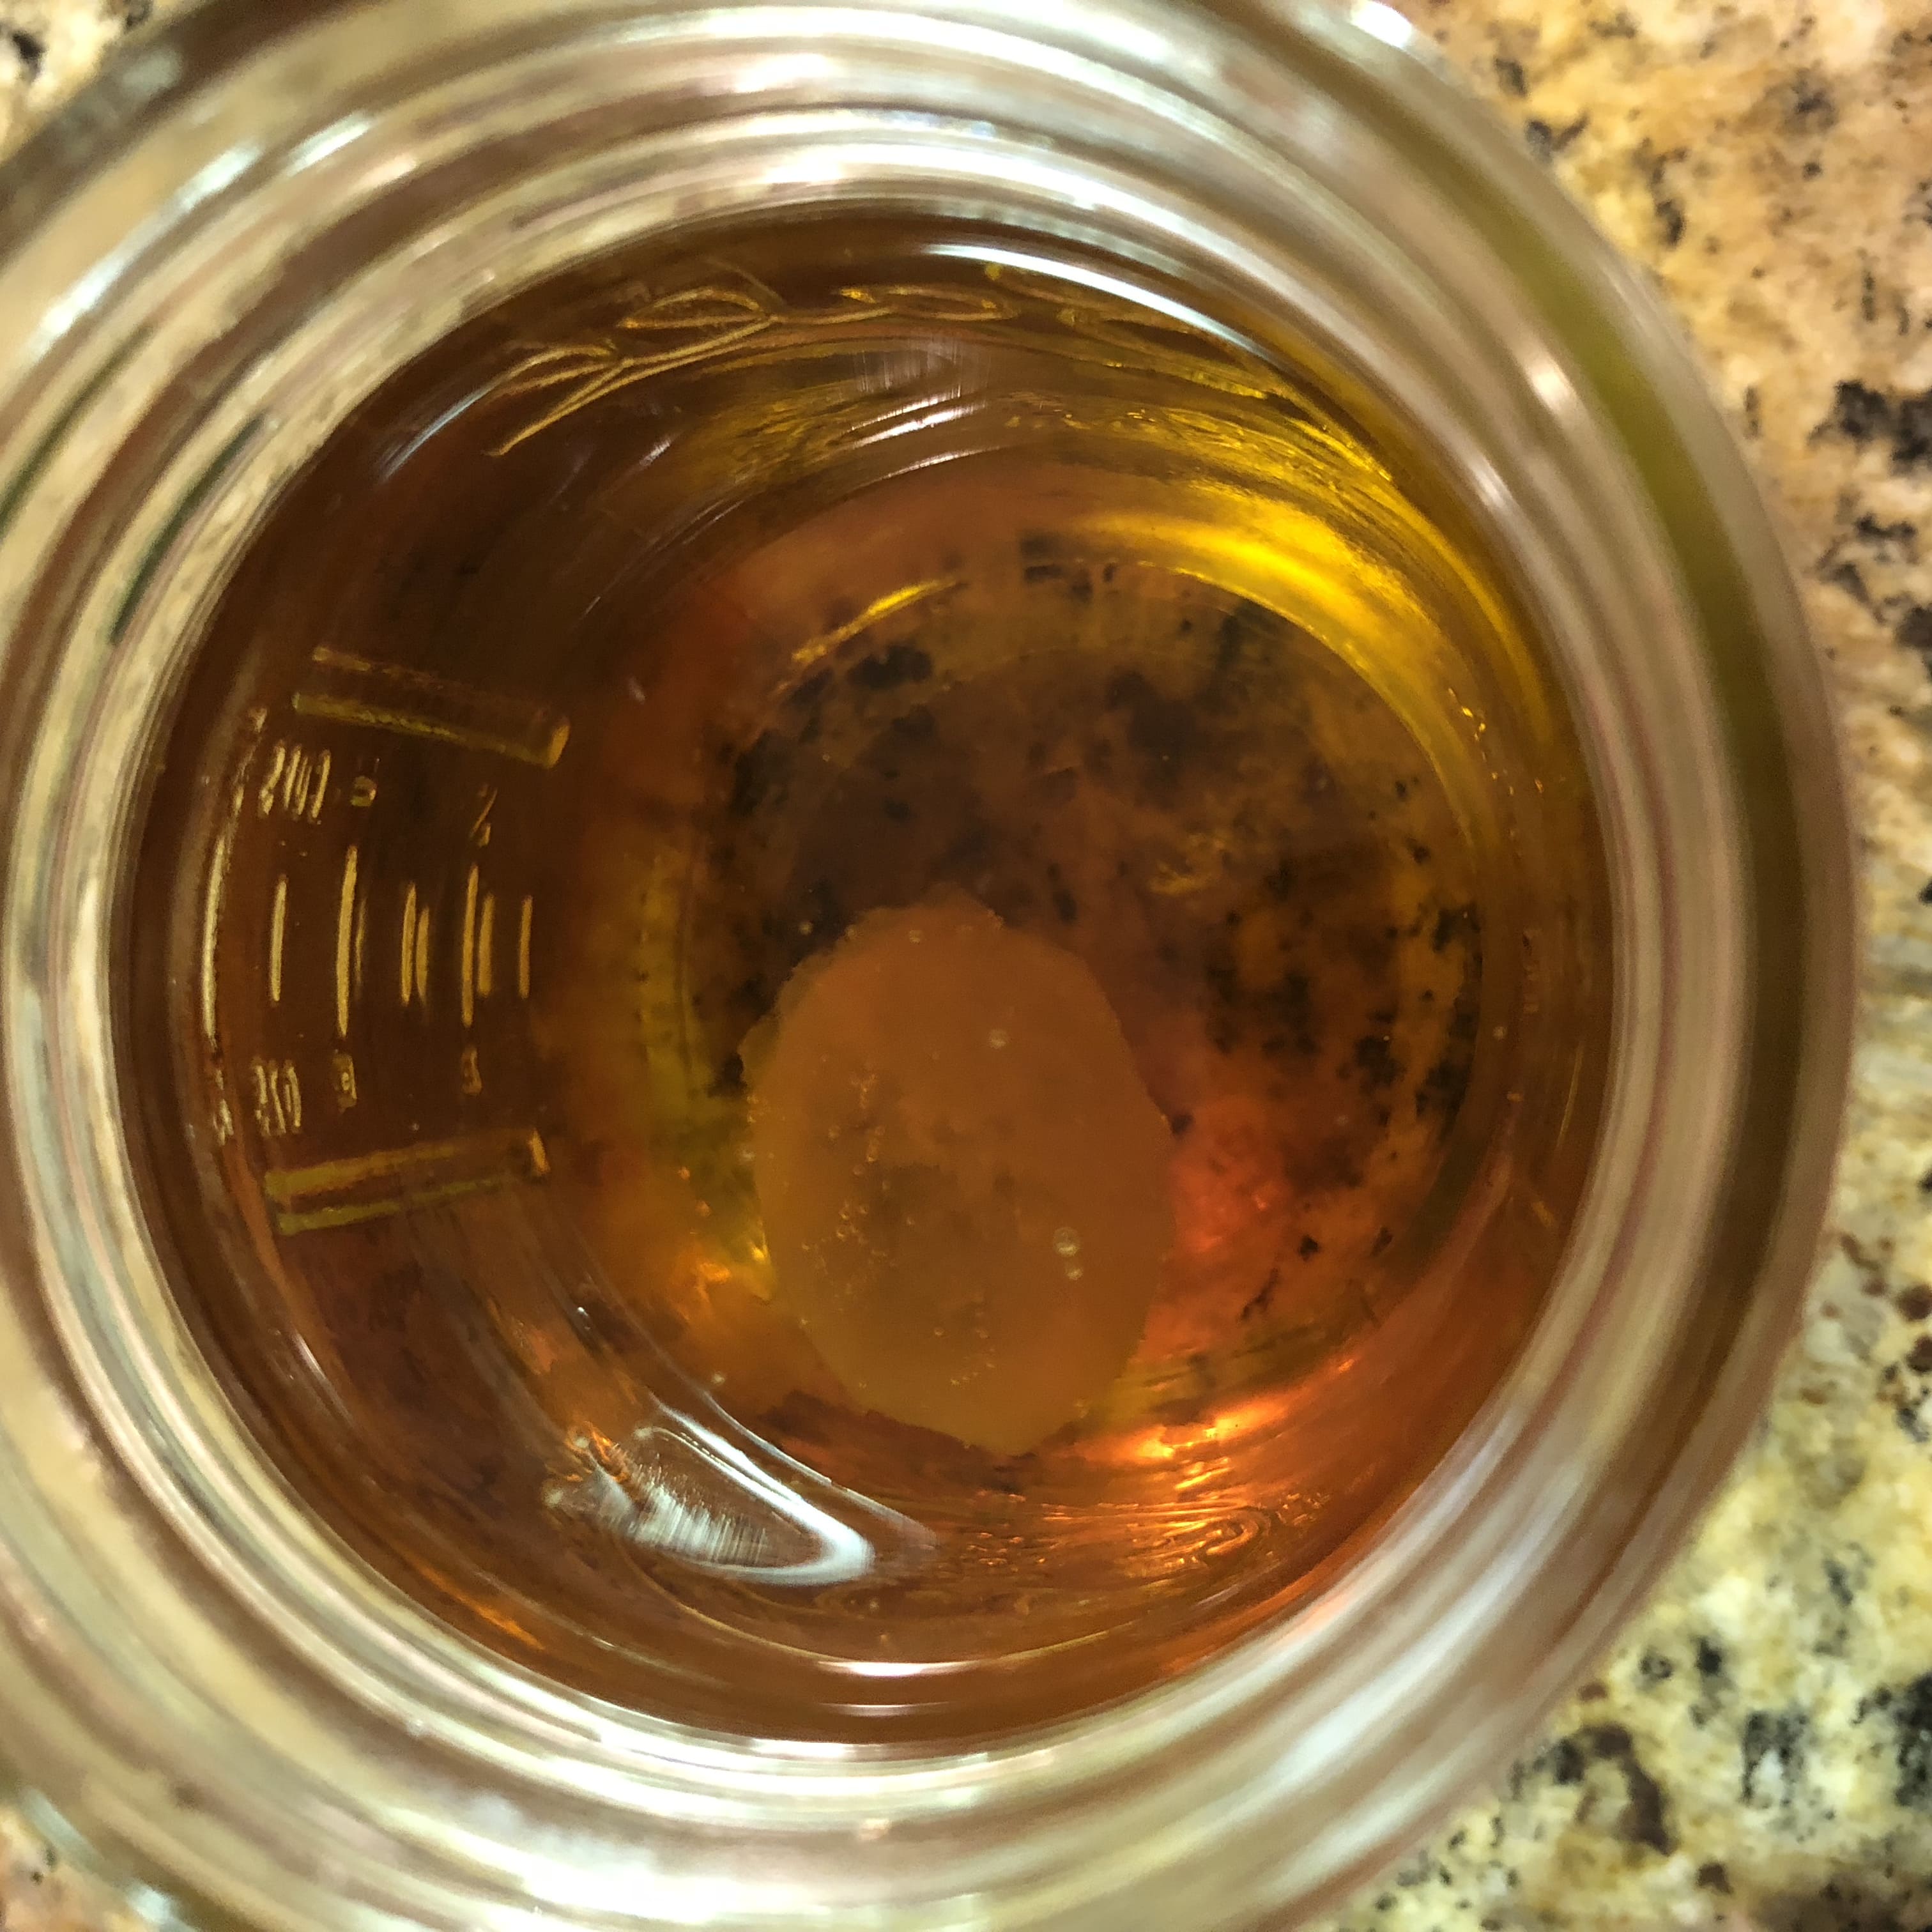
Let’s talk about this scoby thing.  It looks like a gross jellified alien floating in your bottle. If I didn’t know better I would think it was moldy and throw the whole bottle out.

There are really only a few materials that will be needed to make a batch of vinegar.

Materials:

1) Alcohol (We used apple cider ale, 2 years past expiration)

Red/White wine – Red/White wine vinegar

Beer – Malt vinegar

2)  Vinegar with mother (established scoby)  I purchased this at the grocery store

3) Mason jars

4) Paper towel or cheesecloth

5) pH strips

Step 1) Pour old alcohol into mason jar

Put some of the old alcohol into mason jar with a little bit of water.  I could not find a specific measurement for the amount of water to add so I added 2 tblspoons of water to a 12 oz beer.

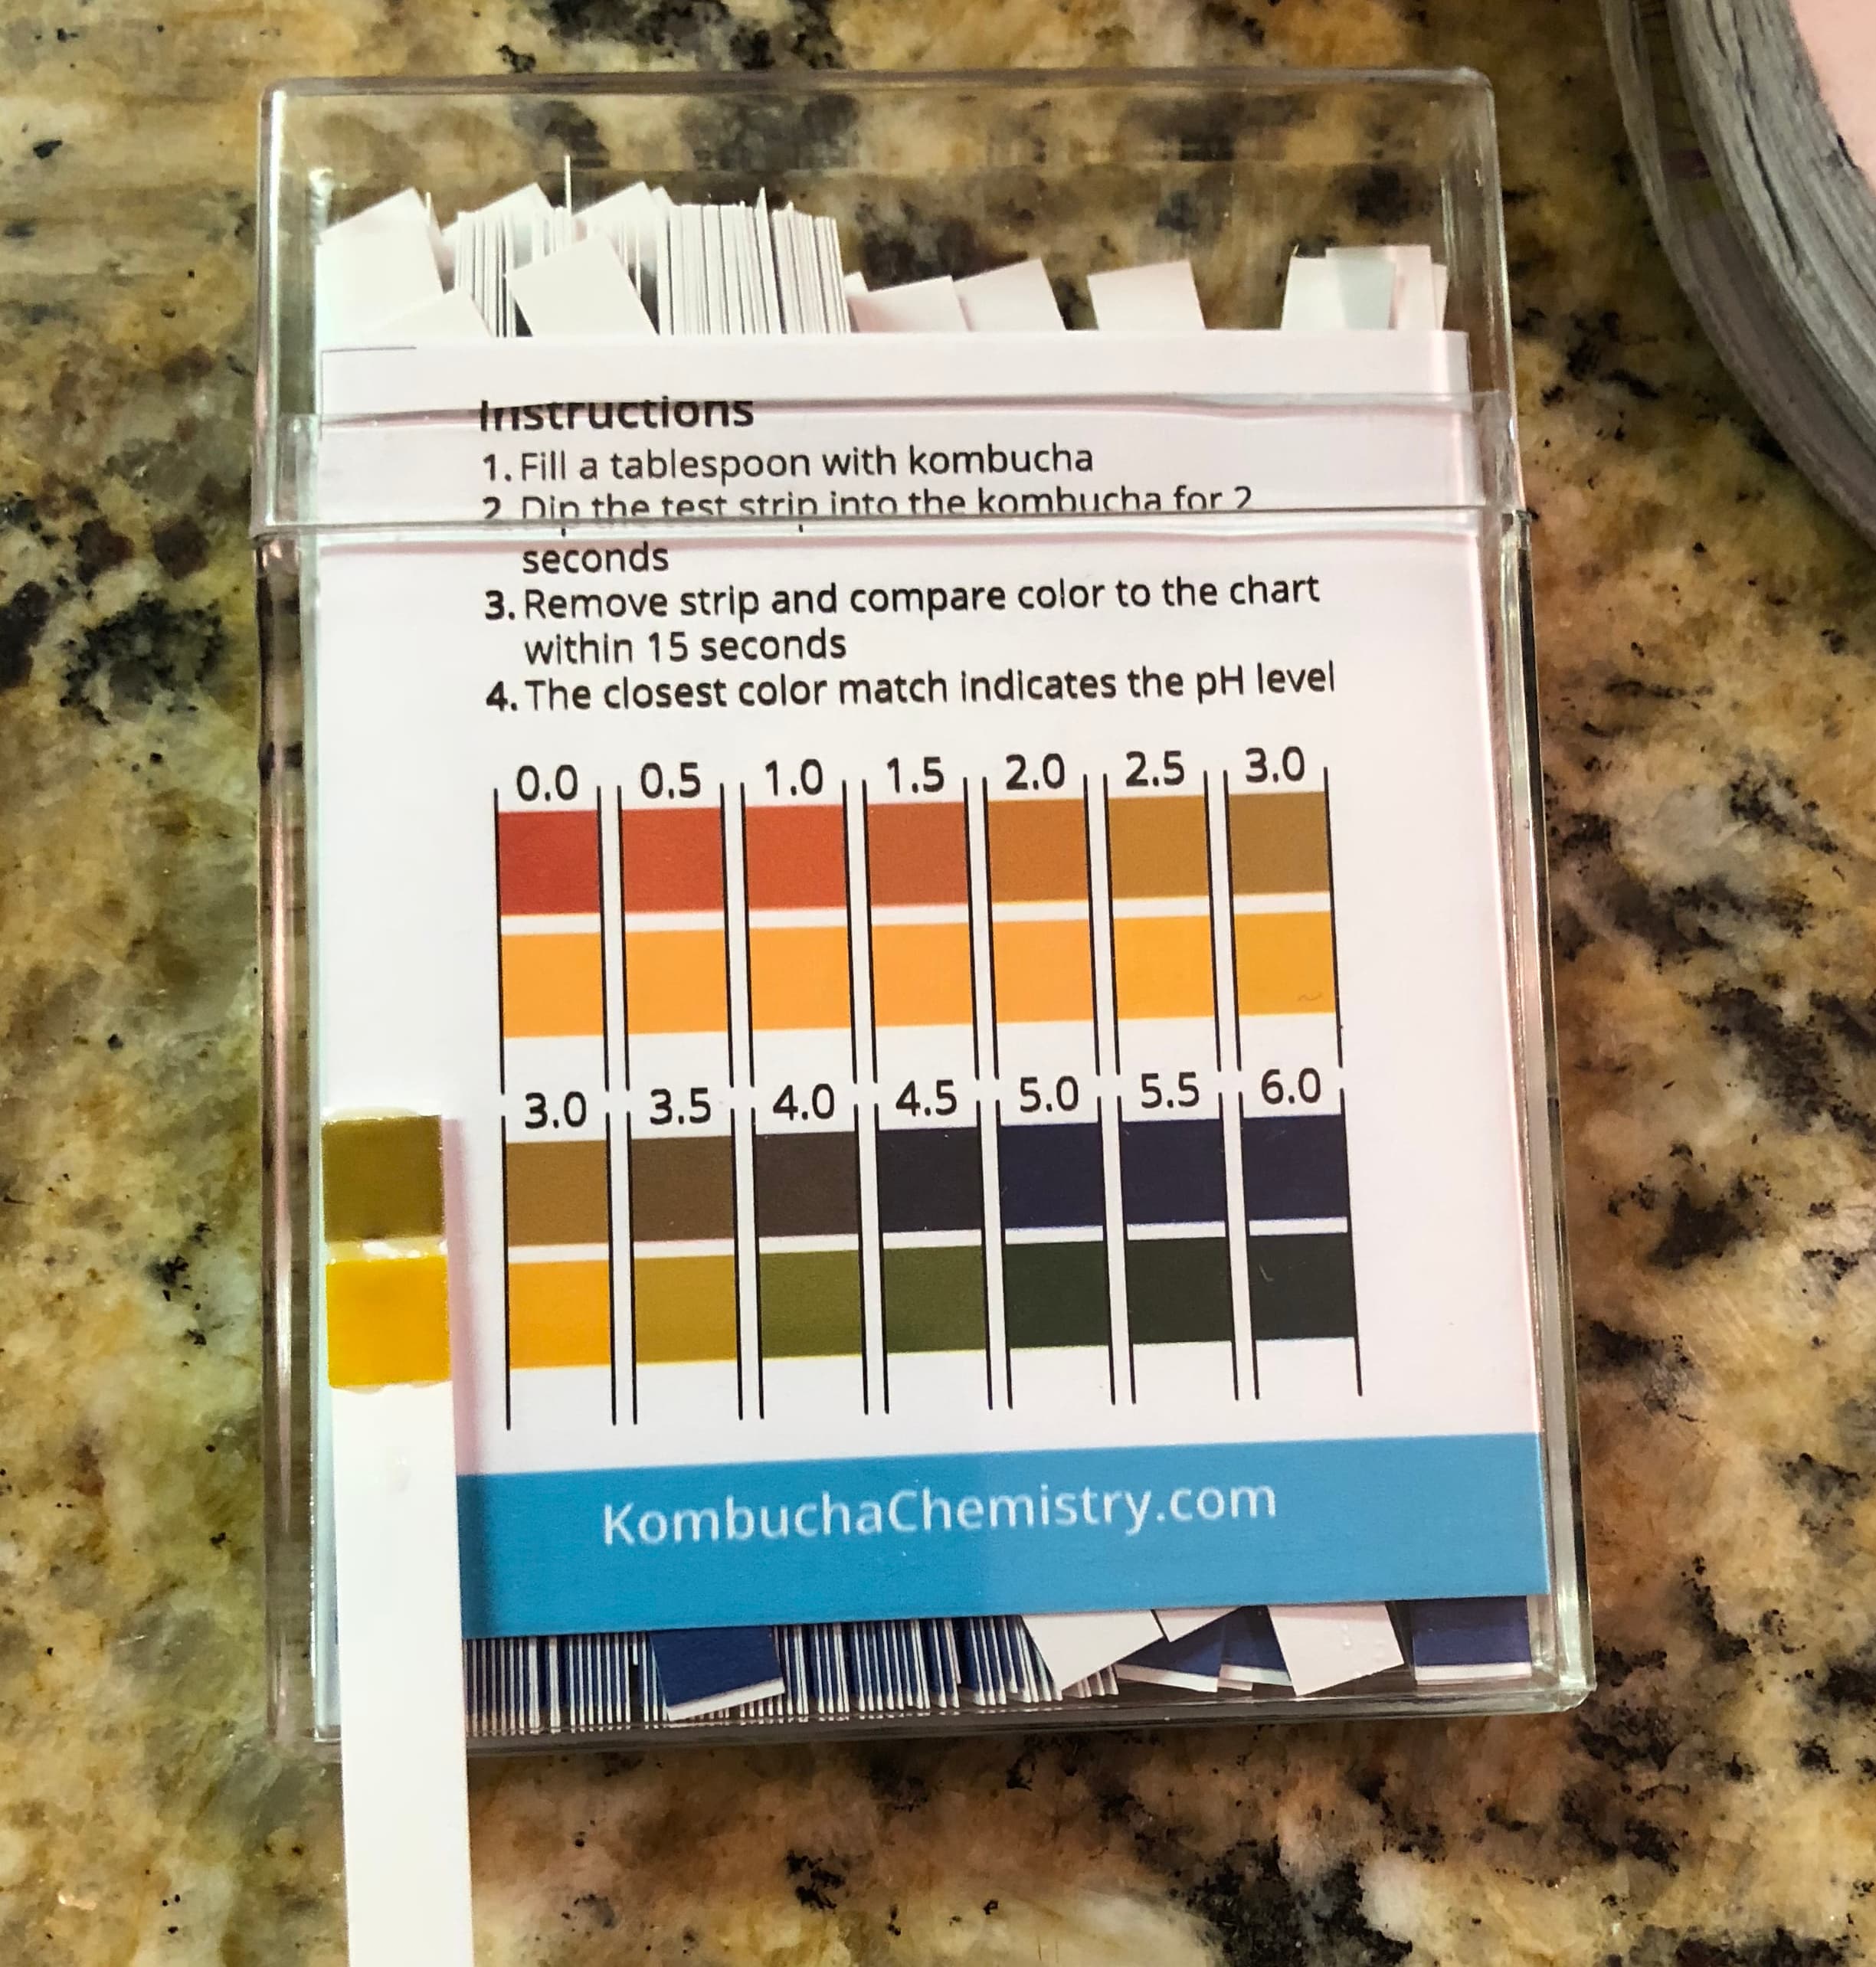
I also testing the beer/water  with the pH strips to determine what our starting pH was. It was 3.0.

Step 2) Remove mother from store bought Vinegar

I bought the vinegar with mother from a local grocery store.  The vinegar bottle had a very small mouth and I was not able to remove the mother directly from the bottle.  I decided to pour the vinegar into another mason jar so that I could easily remove the mother.

We also took the pH of the vinegar to see what that was at. It was a 3.5

Step 3) Cover mason jar with paper towel or cheesecloth.

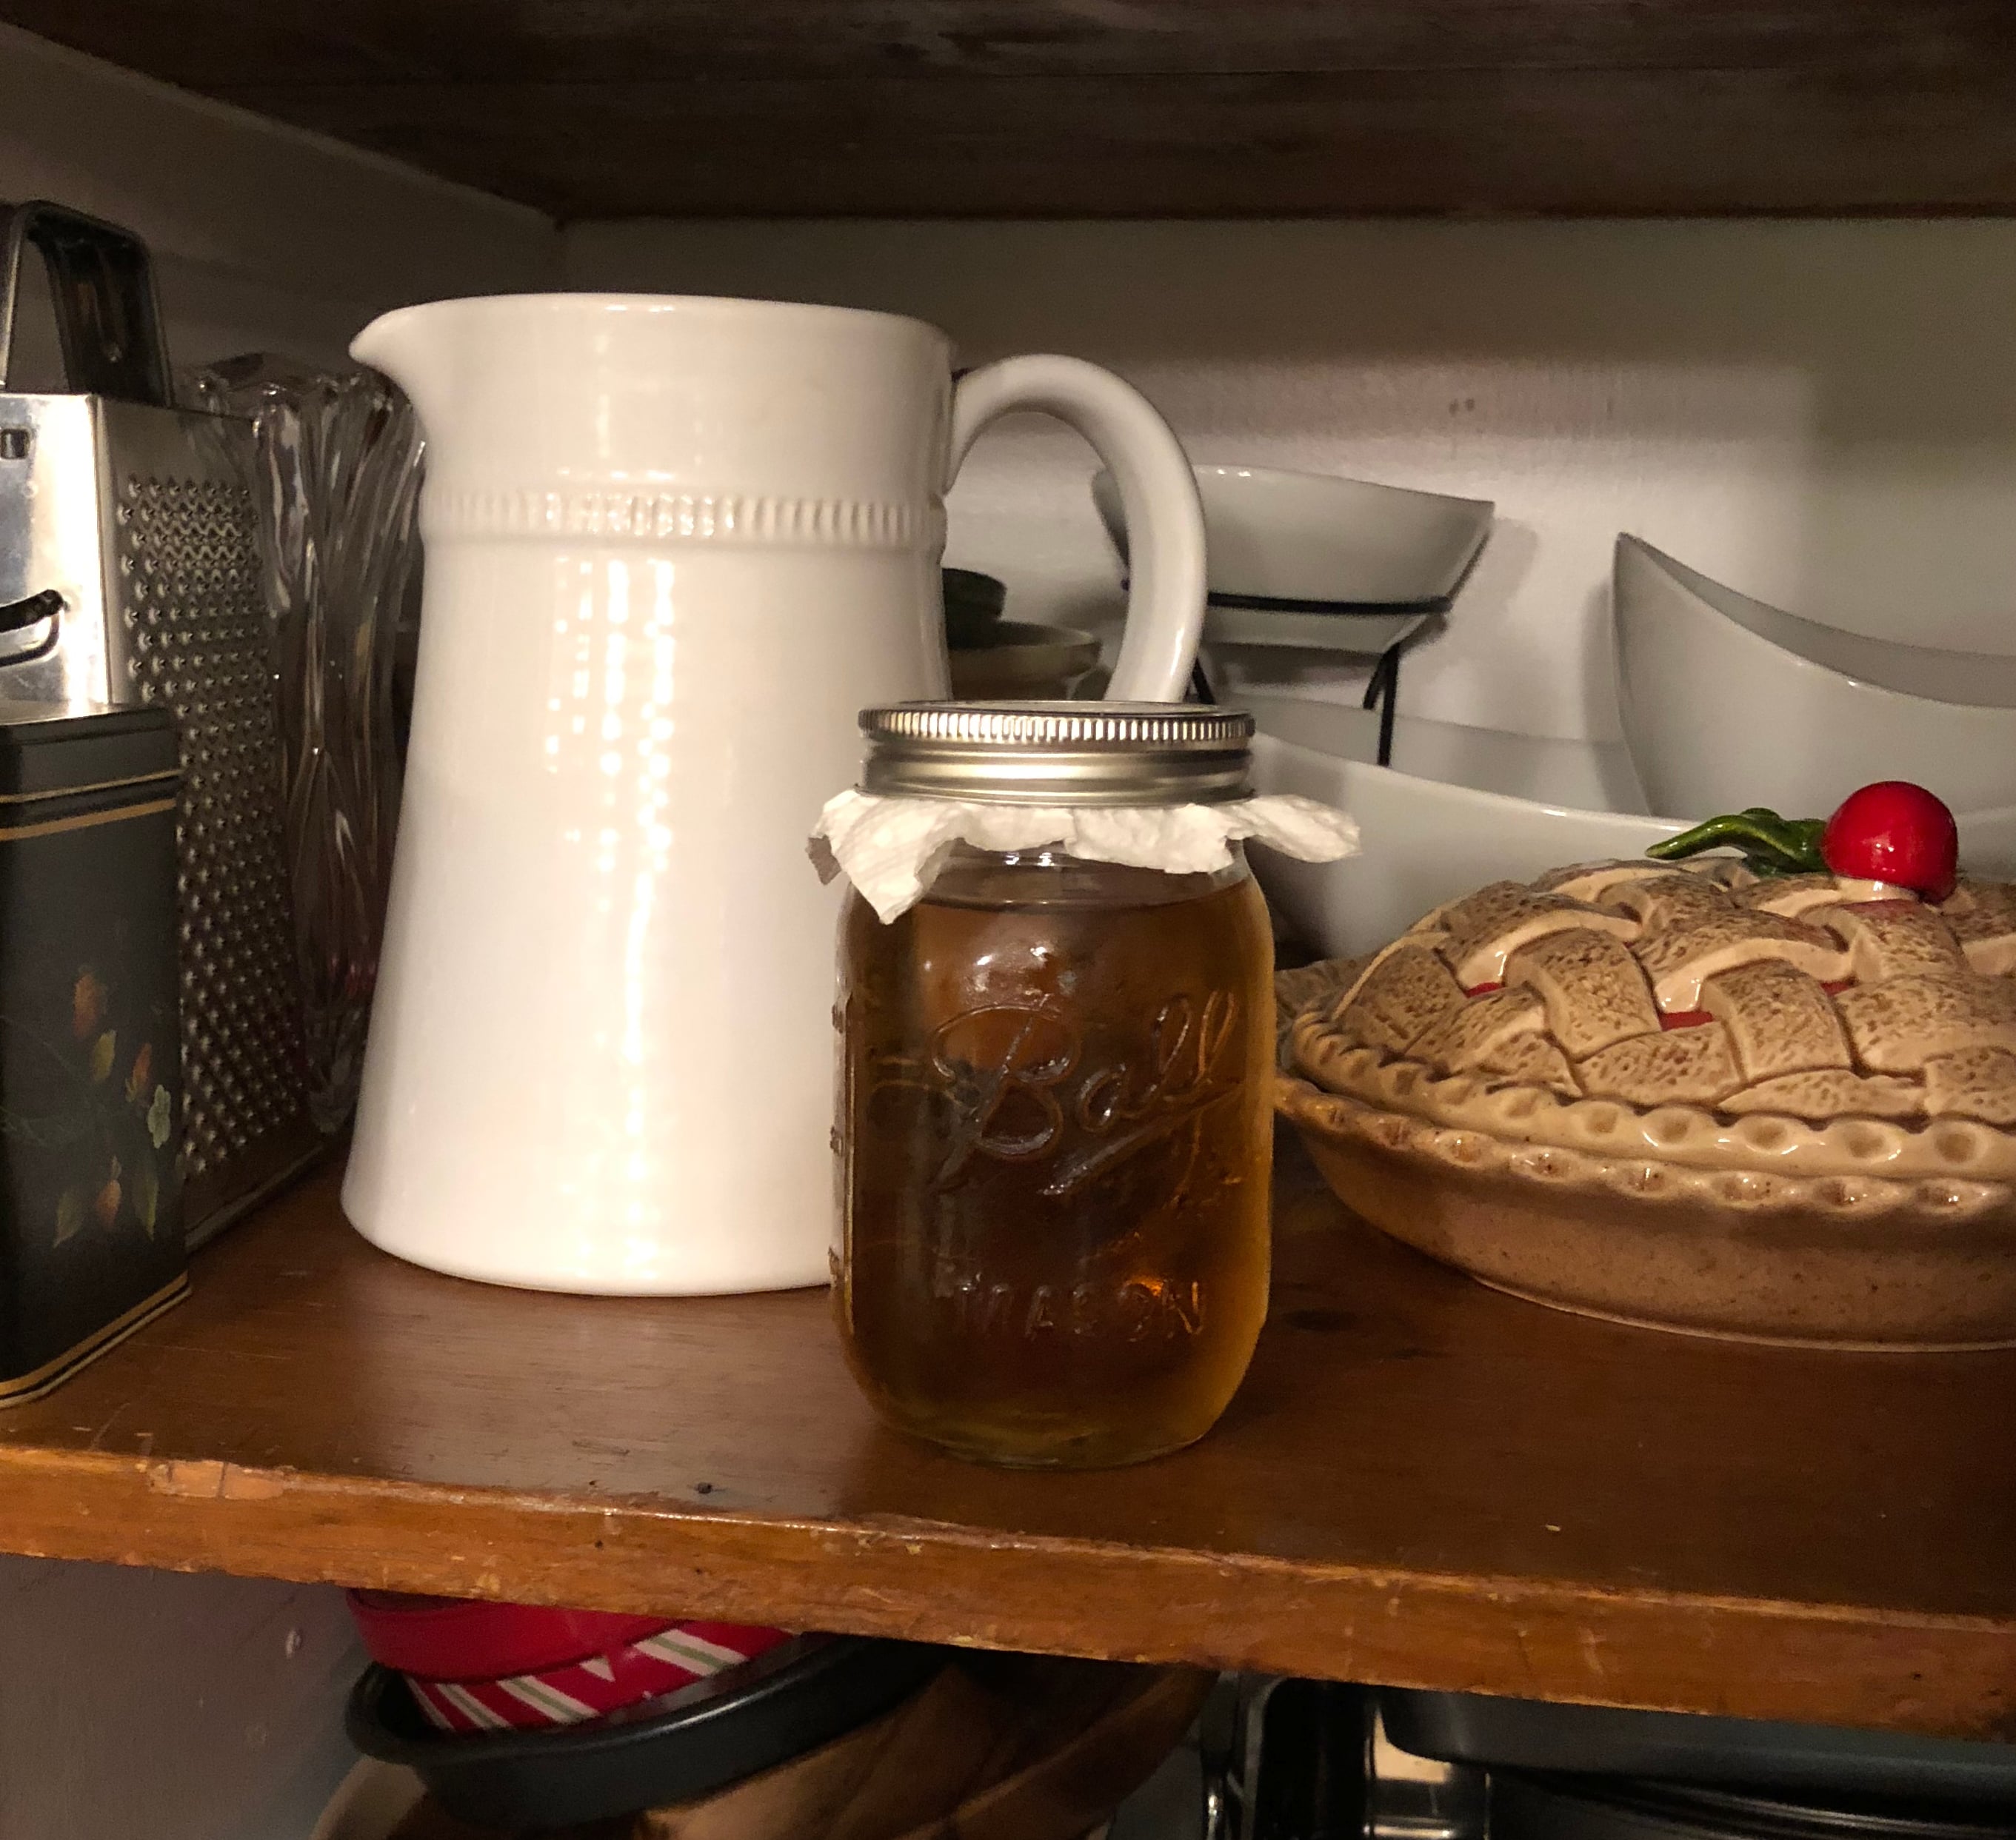
You want to cover the mason jar with either a paper towl or cheesecloth so that dirt and dust will not get into the vinegar, but oxygen can still get to the mixture.

Step 4) Place jar in pantry or somewhere out of direct sunlight.

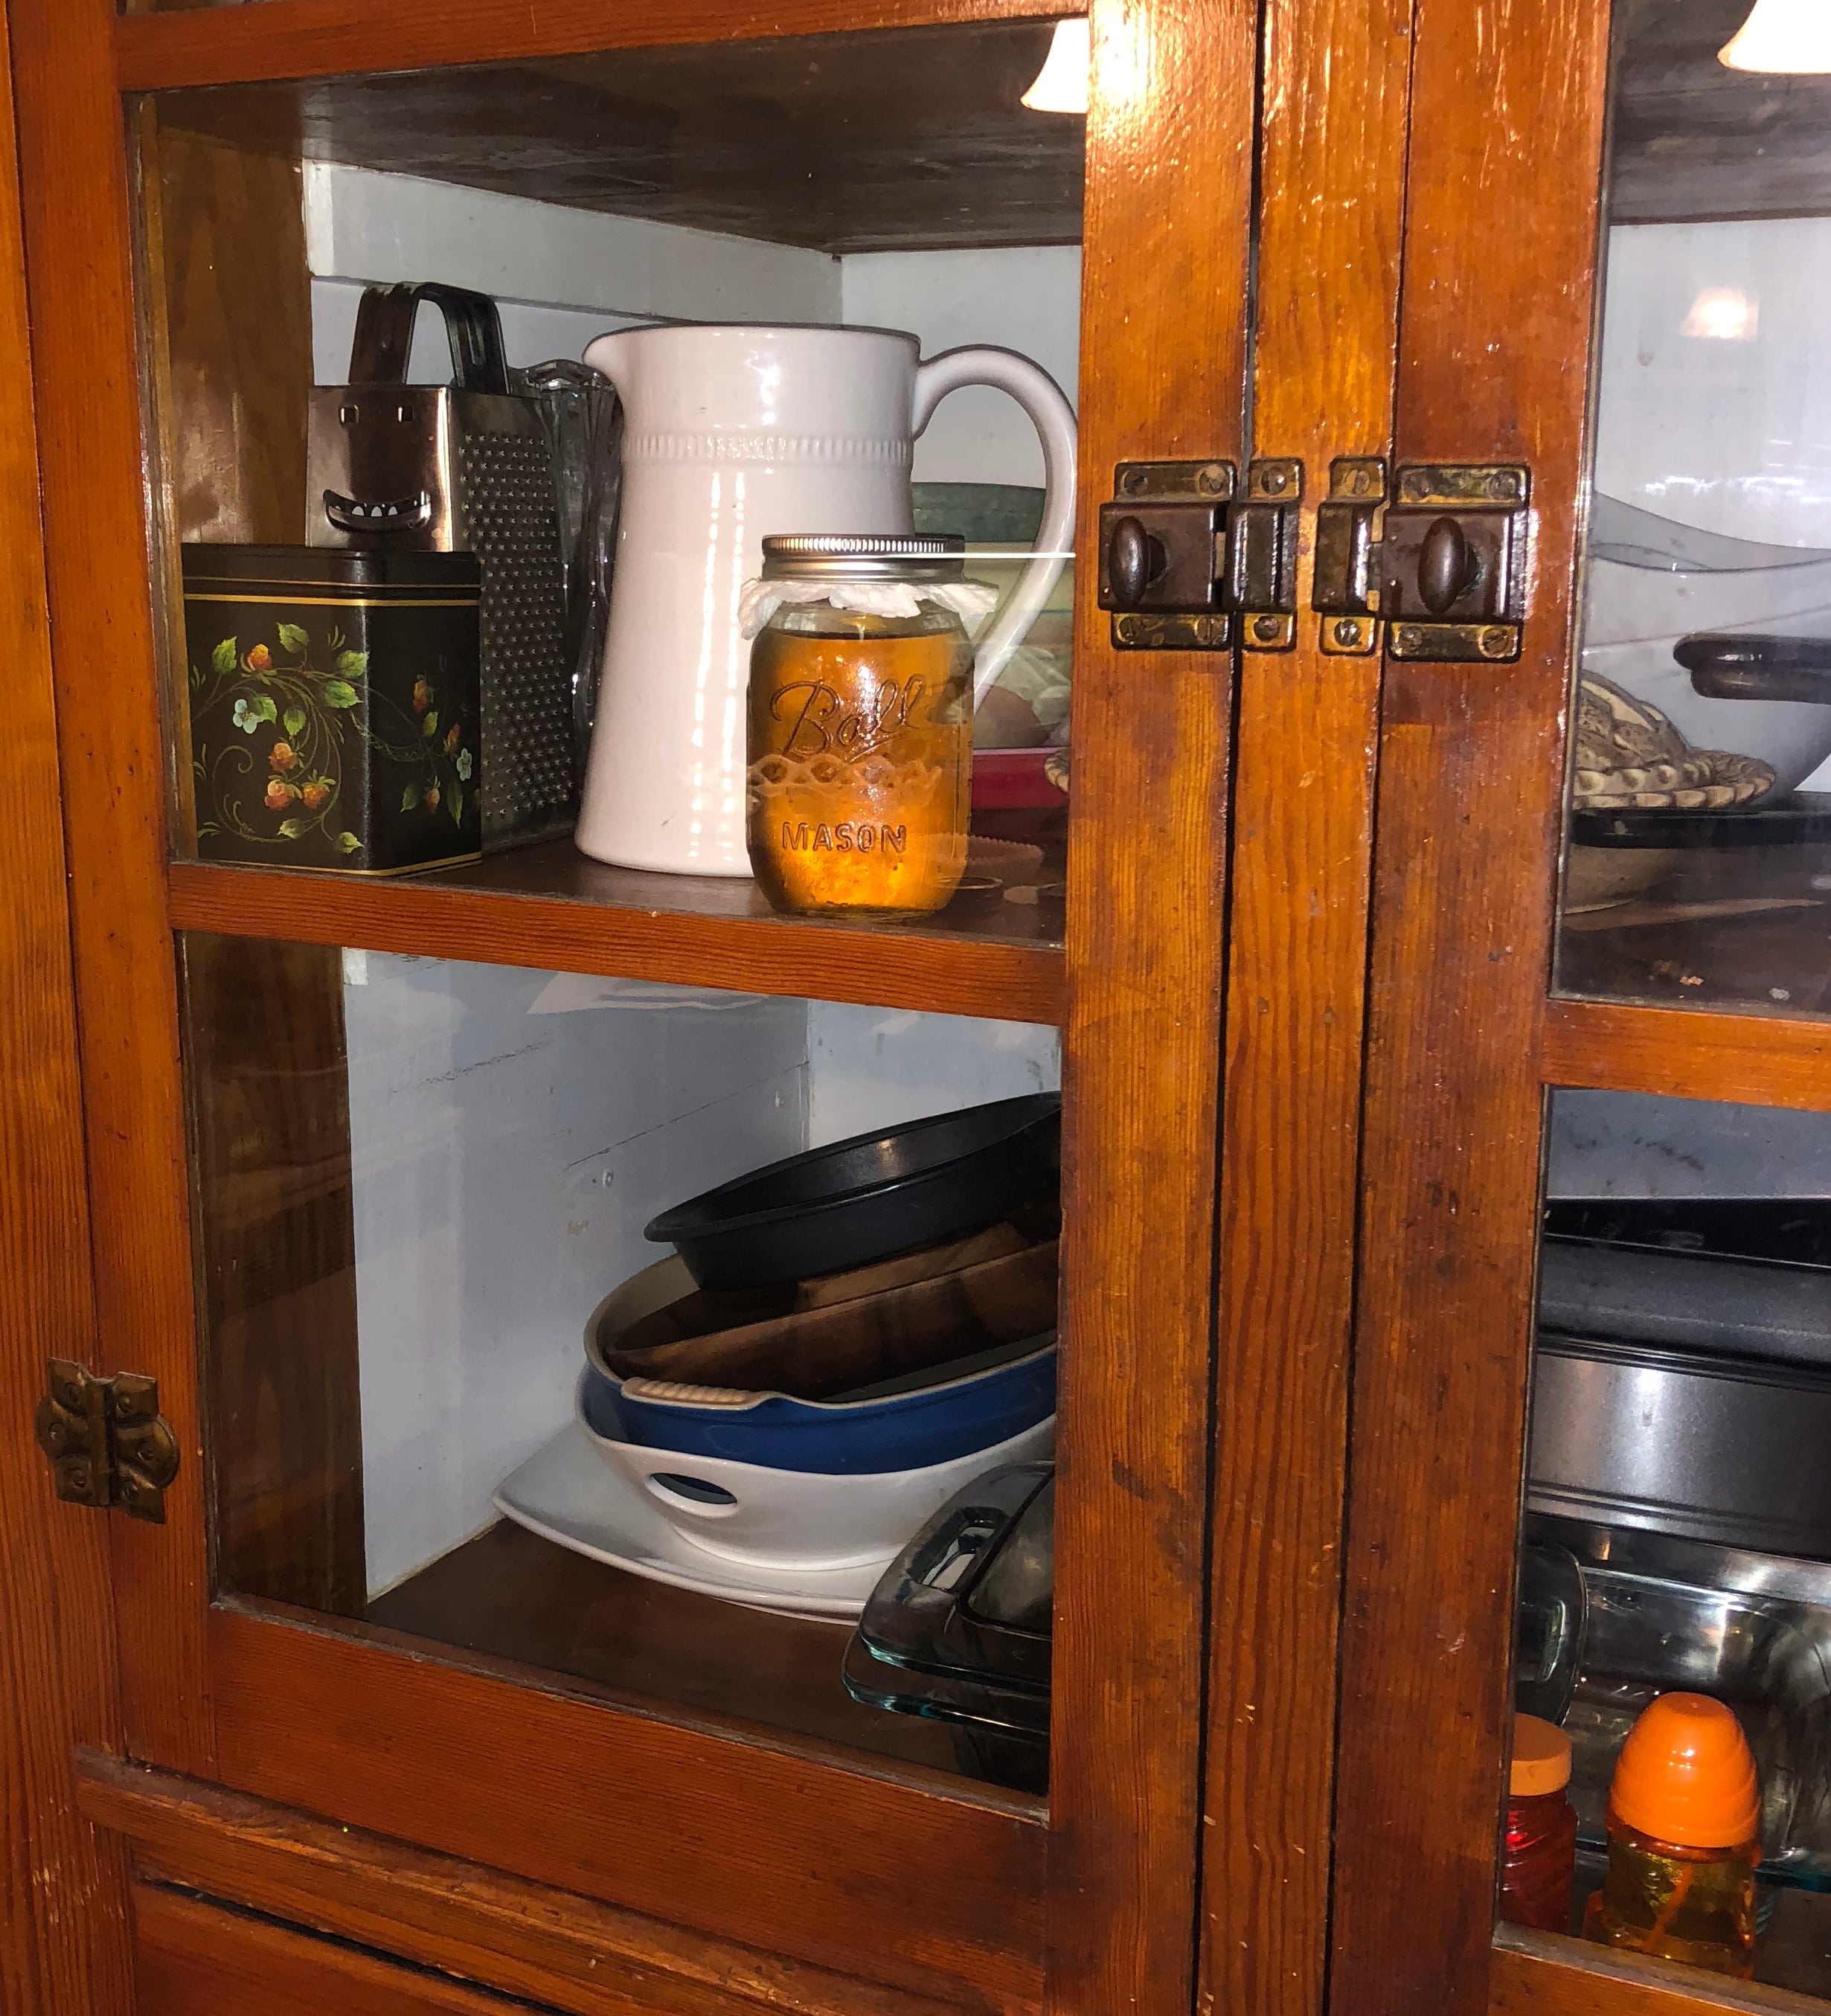
I chose to put the jar on a shelf in our pantry.  It is dark but it is not hidden away in a place where I will forget.  You will be checking it every so often so you want it accessible.

Step 5) Let scoby do the work!

You will want to leave the jar in your dark spot for a period of time. It could be 1 month or it could be 3 months before it is ready. The only time you want to open the vinegar is to change out the paper towel when necessary.

Step 6) Test for pH periodically to see if it is ready.

How do you know when it is ready?  There are a few signs that the scoby is busy working.

– You should be seeing bubbles in the jar and the liquid should turn cloudy.

– It should smell like vinegar.

– A pH test should be at a 3.0  and no more than 4.0.

Step 7) Stabilize vinegar by boiling

Your next steps will depend on how you plan to use the vinegar.  Raw or active vinegar is unstable and will continue to ferment.  If you are planning to keep the vinegar raw, you should store it in the refrigerator so that it will keep the bacteria alive but will slow down the fermenting process.  If you are planning on giving the vinegar as gift or store in the pantry, you should stabilize (pasteurize) it so that the fermenting process is halted.  If you try to store unstable vinegar, it can continue to produce carbon dioxide which could burst the lid off of the bottle if not packaged properly.

In order to stabilize it, you should first separate out about a 1/2 cup of vinegar with the mother and put it in a glass jar with a clamp top. You want to make sure this is stored properly.

– Start with a stainless steel stock pot.  Do not use aluminum.

– Bring the vinegar to a temperature of 185 degrees

– Hold the vinegar at that temperature for 10 – 15 minutes.

– Turn off the heat and let it cool down.

– Transfer to the desired storage container.

It is recommended to avoid using any homemade vinegar if your canning process, especially if you are just learning and starting out. If your vinegar is too unstable, it can really cause problems if it is used in your food preservation.  Preserving food through the canning process can be tricky enough and adding another unstable element can be unpredicatable.

Our Next Steps

We are in the waiting stage with our vinegar.  I plan to monitor the vinegar pretty regularly by observing the jar and making sure that bubbles are forming.  In one month, I plan to pH test the vinegar and see where we are.  Stay tuned for an update and some great tips, gift idea, and recipes on all using that awesome homemade vinegar!

01 – Pokeberries

01 – Pokeberries

I thought I would start the Plant Identification series with a plant that is a real pain on our homestead.  It is all over the place and it grows fast.

Pokeweed/Pokeberries

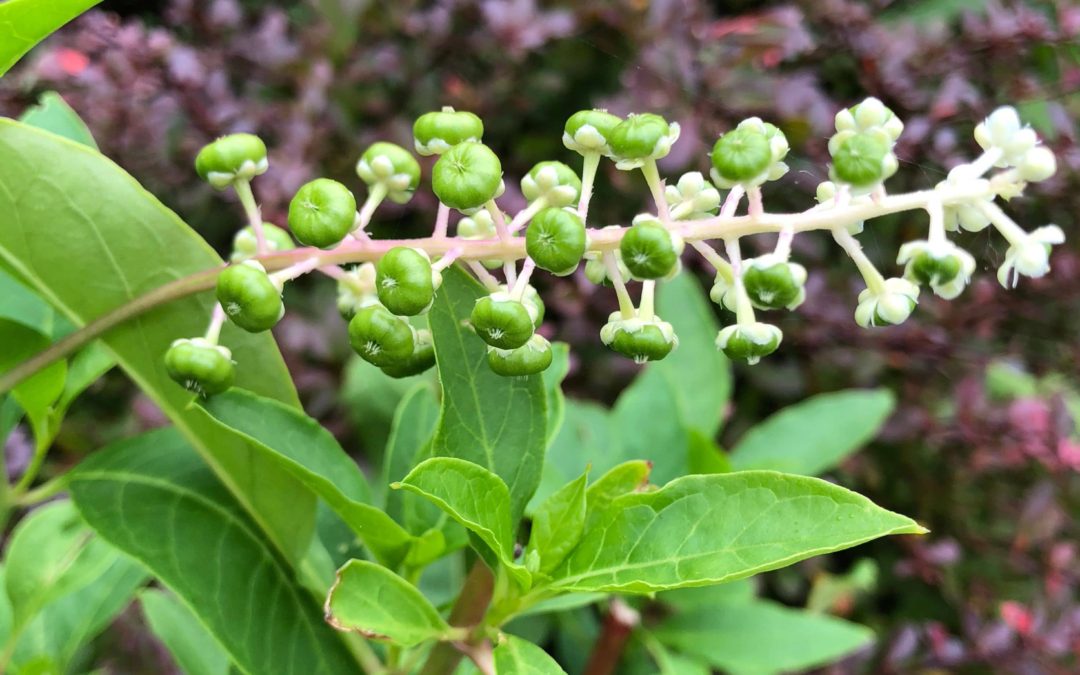
This plant is TOXIC and is a concern for all homesteaders.  Once the berries turn purple, they can be mistaken for grapes or blueberries. It poses a danger for children and animals.

Distinctive Characteristics:

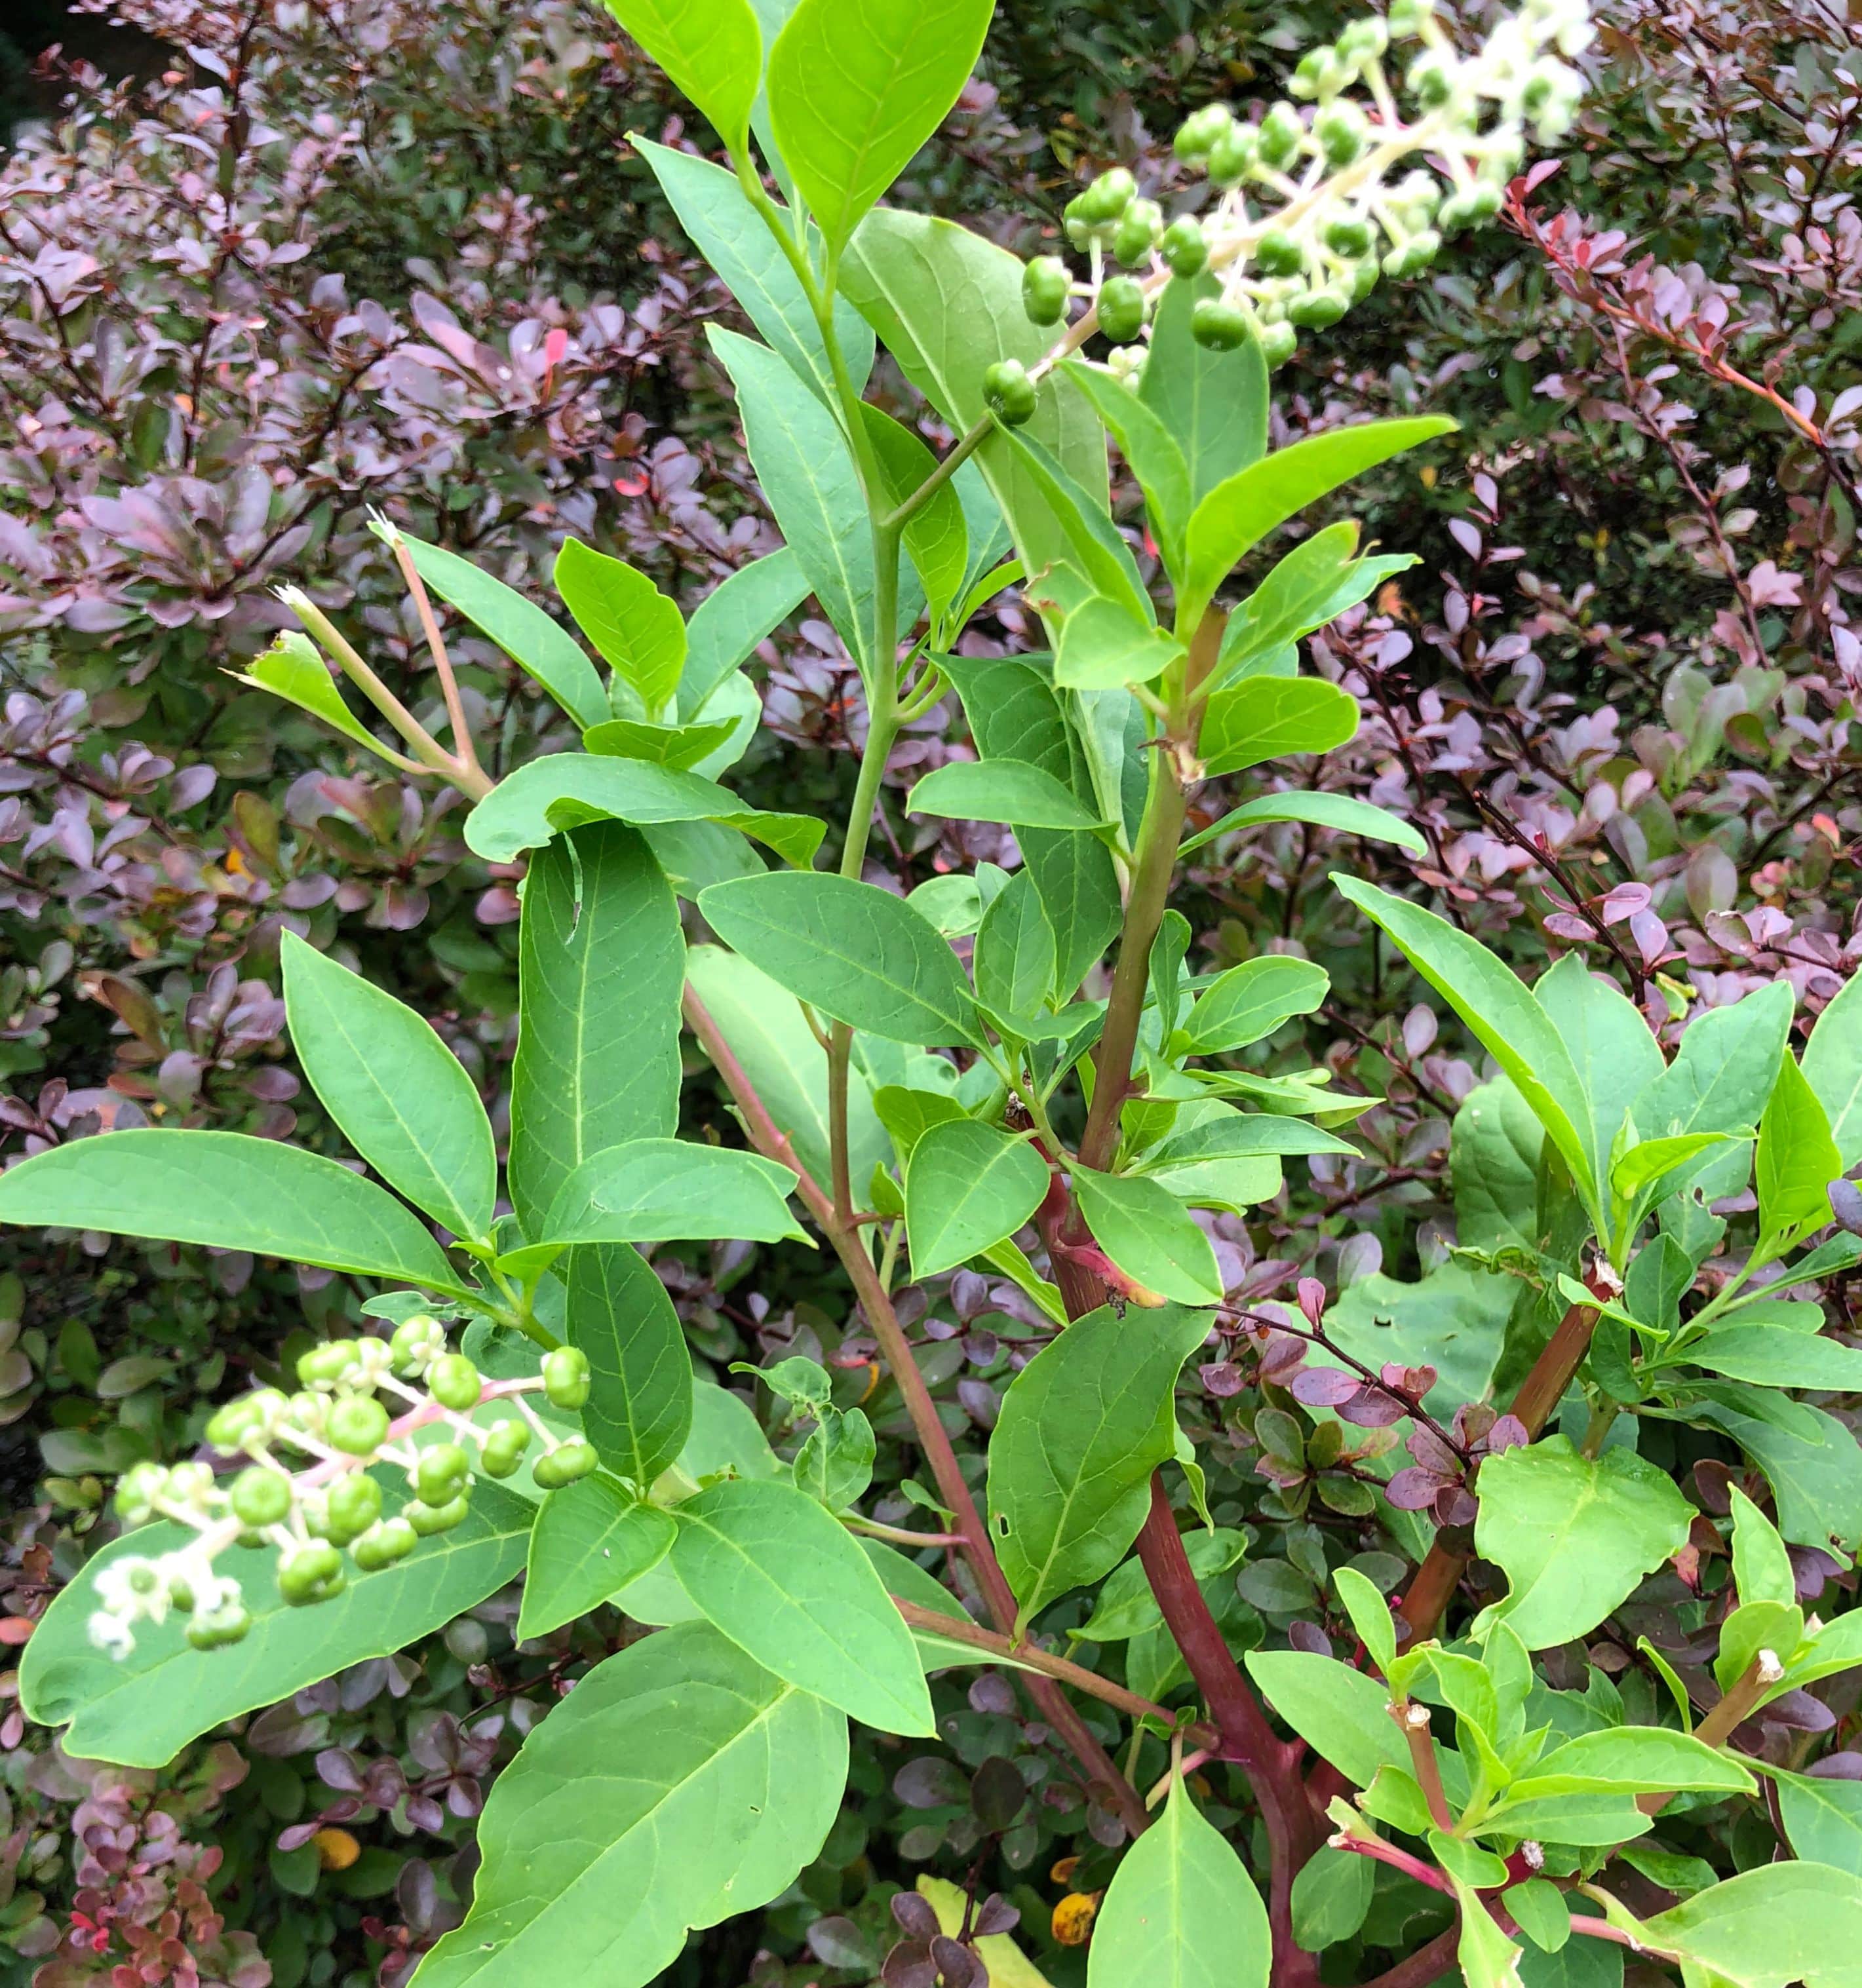
The plant has green leaves on a very red/purplish stems.  Small white flowers will grow in mid-summer and will give way to green berries. Once those berries ripen, usually in late summer/early fall they will turn a dark purple/black.

Where it grows:

It just seems to grow anywhere and will develop into a small bush rather quickly. It can grow to 8 feet in height.

How to remove and dispose of:

Pokeberries should be removed by pulling the root from the ground as early as possible. This will help avoid it getting too big. If you wait until the end of the season, you will have a lot of plants to deal with.

You definitely want to remove them before the berries ripen in order to:

  1. Reduce the chances of it being eaten by your animals and your children
  2. Avoid the spread of the plant which is done by birds eating the berries and transferring them elsewhere in their waste.

I try to remove these plants as soon as possible.  We dispose of our weeds and other yard debris in the wooded areas of our homestead and it is just so much easier to dispose of small plants than it is to transport a large established bush up into the woods.  This is great in theory but we have certainly dragged our share of large plants up into the woods in the fall because we were too lazy busy to do it when we first noticed them early in the season.

While these plants seem to pop up all over our homestead and can be a real nuisance, they do have some really beautiful features. The stems that hold the berries turn a super bright fuschia/pink that is really pretty cool.

Do you have pokeberries in your yard? If so, how do you dispose of them?

Interested in Homesteading for your Family?

Get our list of 20 Homesteading Skills you can start learning today!

Powered By ConvertKit