This is the first time I am going to attempt to make it so we will see how it goes!
A little science lesson
1) The first way is done by taking an alcohol such as wine, beer, or cider and fermenting it with bacteria. The product of this reaction is vinegar.
2) The second way is done by making the alcohol with fruit scrapes first and then turning that alcohol into vinegar by fermenting it with a bacteria.
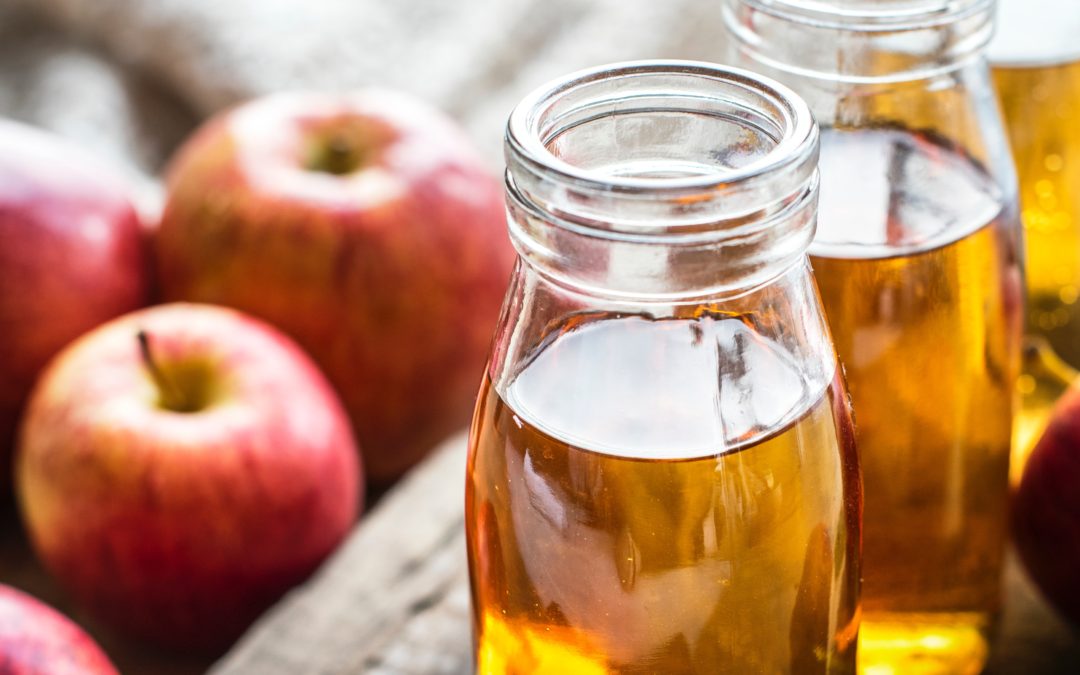
While I am using the first process this time, I definitely plan on making vinegar starting with fruit scraps at some point. For my first attempt at making vinegar, I chose to use an old apple cider beer that has been sitting in my fridge for about 2 years. Sounds like a great way to use something that I would normally throw away (and should have thrown away a long time ago) into something useful!
Once you have chosen your alcohol, you will need to have it undergo a process called fermenting. In order to ferment it, you need a bacteria culture that will do the work. This bacteria is often referred to as “scobys” or symbiotic cultures of bacteria and yeast. When the scoby is added, it will work to eat the sugars in the alcohol. It then produces carbon dioxide and acetic acid. What you end up with as a final product is a vinegar.
A scoby is also referred to as a mother. It is called a mother because once you have grown a scoby, you will continue to use it as you make batch after batch of vinegar. The scoby becomes a mother that you use to produce more vinegar. I find this concept so interesting because as a mother grows, it becomes more and more active. Apparently the older and more used a mother is, the better!
In the old times, an established mother of vinegar was considered a kitchen essential. Women would pass down their vinegar mothers to their children and grandchildren and they would be treated as treasured heirlooms. I love that idea! I am going to start my mother now and by the time my children are out of the house, they will have a vinegar mother of epic proportions to take with them. I am only half joking, however, I do think that it is a very sweet tradition and I wish it was still around today.
Let’s talk about this scoby thing. It looks like a gross jellified alien floating in your bottle. If I didn’t know better I would think it was moldy and throw the whole bottle out.
Red/White wine – Red/White wine vinegar
Beer – Malt vinegar
2) Vinegar with mother (established scoby) I purchased this at the grocery store
3) Mason jars
4) Paper towel or cheesecloth
5) pH strips
I also testing the beer/water with the pH strips to determine what our starting pH was. It was 3.0.
We also took the pH of the vinegar to see what that was at. It was a 3.5
– You should be seeing bubbles in the jar and the liquid should turn cloudy.
– It should smell like vinegar.
– A pH test should be at a 3.0 and no more than 4.0.
In order to stabilize it, you should first separate out about a 1/2 cup of vinegar with the mother and put it in a glass jar with a clamp top. You want to make sure this is stored properly.
– Start with a stainless steel stock pot. Do not use aluminum.
– Bring the vinegar to a temperature of 185 degrees
– Hold the vinegar at that temperature for 10 – 15 minutes.
– Turn off the heat and let it cool down.
– Transfer to the desired storage container.
It is recommended to avoid using any homemade vinegar if your canning process, especially if you are just learning and starting out. If your vinegar is too unstable, it can really cause problems if it is used in your food preservation. Preserving food through the canning process can be tricky enough and adding another unstable element can be unpredicatable.
Our Next Steps
Welcome to Wingin’ it on the Homestead! My name is Stephanie Leaf. I am a wife to a can-fix-anything husband, mother of two boys under 3, future expert gardener, lover of anything old and dusty, and inspiring homesteader. My family and I are new to this journey and loving every minute of it. Please join me in embracing a simpler life!