5 Common Vegetable Garden Problems and How to Solve Them
After many years of gardening, there are a few vegetable garden problems that I have come to expect or look out for which if caught early can be easily treated if not prevented all together.
This article will illustrate 5 common vegetable problems that you could face this year and how to properly treat them.
Dreaming of Having a Vegetable Garden this year?
Grab the Your Dream Vegetable Garden Plan for FREE to get you started today! Start growing your groceries this year!
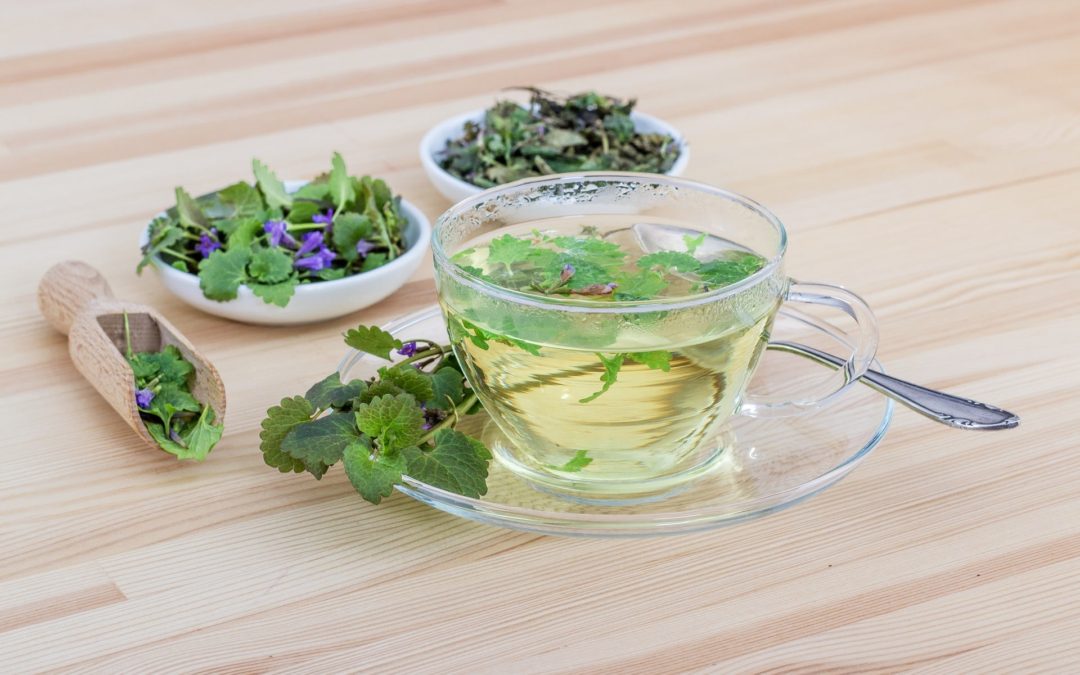
1. Powdery Mildew

Powdery mildew spreads by fungus spores being transmitted and carried through the air where it will then settle onto other plants. You can identify powdery mildew because the fungus gives the appearance that plants have been dusted with flour. The white mildew sits on top of the plant leaves. In addition, once damage sets in, the leaves will start to turn yellow.
In order to treat, you can either use an organic fungalcide which can be found at local garden centers, or you can make a DIY version. The DIY bicarbonate solution is easy to make and only takes four common ingredients: baking soda, vegetable oil, dish soap, and water. This DIY recipe was taken from MIgardener with a few adjustments to make a smaller batch for my needs.
Mix 1 teaspoon baking soda in 1 quart of water.
Add 1 teaspoon of vegetable oil to help it stick to the leaves
Add 1-2 drops of dish soap.
Mix together and add to a spray bottle.
Spray infected plant, thoughroughly coating the leaves.
This is a great job for kids! Kids love spray bottles and because this such a safe formula, I usually just whip up a batch and let my kids go at it.
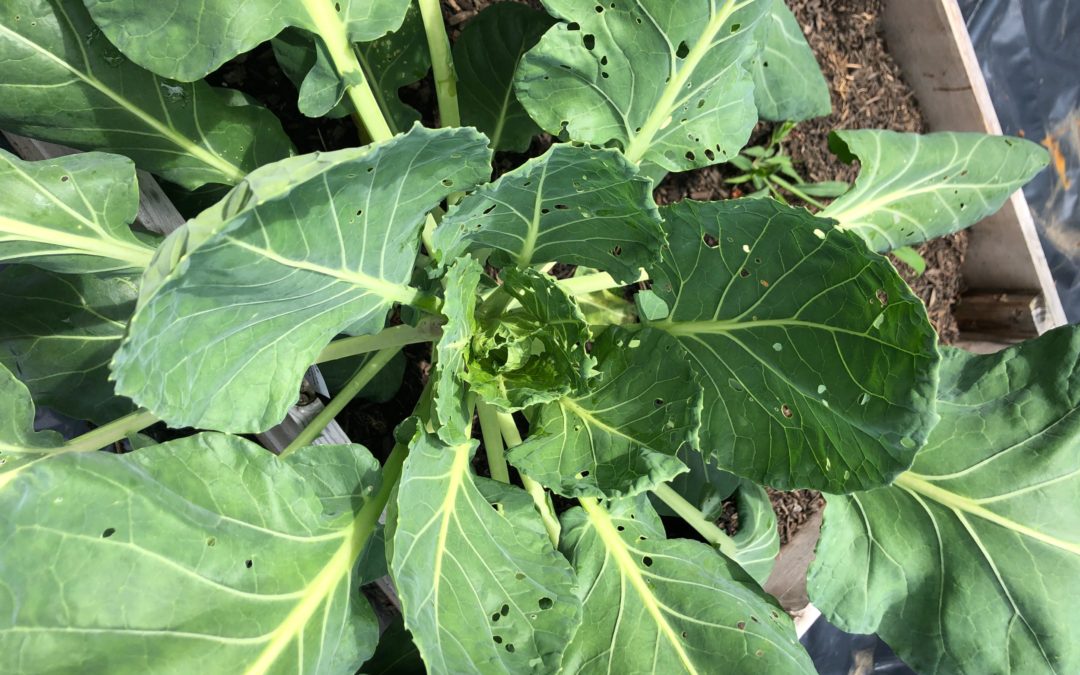
2. Cabbage Worms
Cabbage worms is a blanket term for several different types of caterpillars/worms that are attracted to brassicas. Cabbage worms and cabbage loopers typically refer to diamondback moth larvae and zebra caterpillars. The first indication that you have a cabbage worm problem is the appearance of small holes in the leaves.
The best way to deal with cabbage worms is to prevent it all together. This can be achieved in several ways:
1) Utilize row cover over your broccoli, cabbage, brussel sprouts, etc. These plants do not need pollination so covering them to avoid the moths laying their eggs to start, is a really great option.
2) After watering, sprinkle cornmeal onto the infested plants. The worms will eat the cornmeal and die.
3) Use a store bought pesticide like Bt or Sevin.
For more information about battling cabbage worms, check out the very helpful article: The Old Farmer’s Almanac – Cabbage Worm Treatment
3. Leggy Plants
When a plant becomes “leggy” it refers to the plants growth. Typically a leggy plant will have grown tall and have large spaces between leaf sets. Initially it may look healthy because it has experienced rapid growth, but it is actually a sign that something in the care is lacking.
The majority of the time a plant will become leggy with it is not getting enough sunlight. This forces the plant to reach in a direction to get the sunlight it needs. An easy way to treat and prevent this is to ensure that the plant is recieving enough direct sunlight. Move the plant to a sunnier spot in the garden or window sill.
Another possible cause of legginess is that the plant has been planted in soil which is too hign in nitrogen. Nitrogen high enviornment can over promote leaf and greenry growth of the plant. This will cause the plant to have increased growth of the greenery before the roots have had a chance to really be established, resulting in a leggy plant.
For new plants, make sure you are planting in soil sufficient with potassium, or upon observance of legginess, add potassium to the soil.
Another great treatment to legginess is proper pruning. I experience this with my mint and basil almost every year. The plant becomes leggy but after a good, proper pruning, the plant will fill out and start developing a more bushy apperance.
Stop wasting your fruits and vegetables!
Grab the Ulimate Fruit and Vegetable Seasonal Guide for FREE to start properly storing your produce so you can stop throwing it away and start enjoying it longer.
4. Blossom End Rot
Blossom end rot results in a fruit forming but due to some reason, the plant is unable to continue the growth of the fruit and it starts to rot on the blossom end. The fruit will stop growing and will turn yellow, brown, or black and begin to rot.
There are two common causes of blossom end rot:
1) Calcium deficiency in the soil
2) Inconsistent watering (Check out this helpful article on how to water properly)
Both of these can be treated but are also easily prevented.
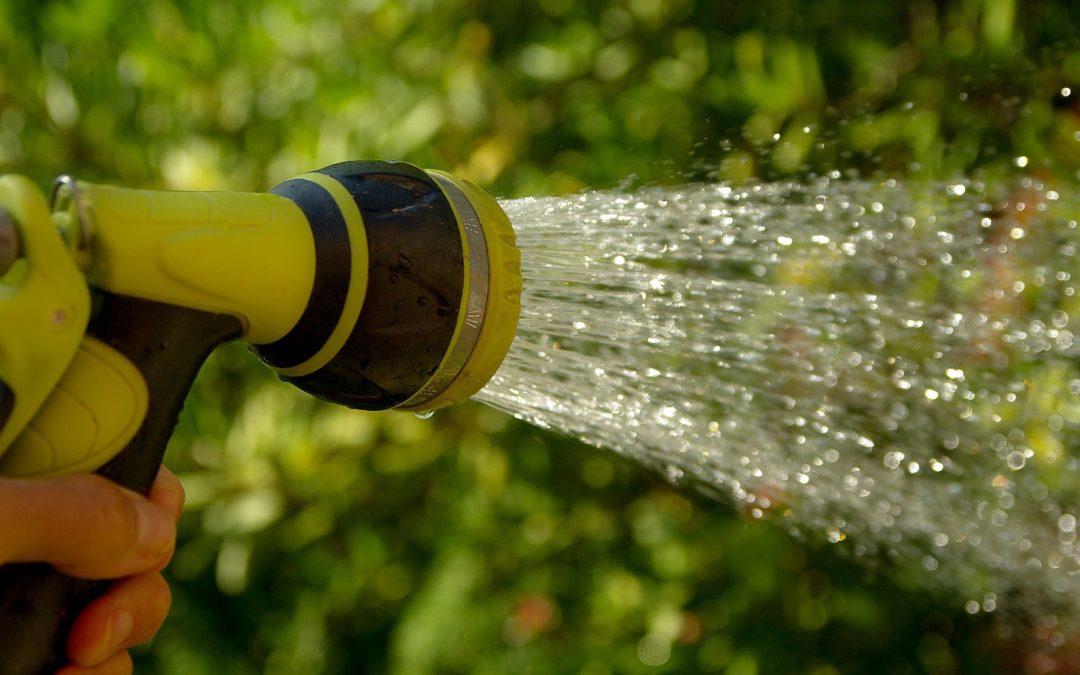
In my experience, blossom end rot occurs because I do not water consistently. In past years, I may not water for a few days and then blast the plants with a large dose of water or a large rainstorm will come through. The easiest way to prevent this is to water frequently and consistently.
If a calcium deficiency is the cause of the blossom end rot, you can add calcium tablets and egg shells to the soil or add a calcium rich fertilizer either prior to planting in the spring or once you notice the issue.
You do not want to eat fruit that have blossom end rot but many times, it will only be a portion of the fruit that is produced, not every one.
5. Bacterial Leaf Spots
Many times bacterial in the soil is splashed onto the leaves of the plant during watering.
Bacterial leaf spot causes black or brown spotting on the leaves and will eventually cause yellowing.
If caught early, a copper fungicide is a great treatment for killing the bacteria, however prevention is the best way to combat it.
I have come to realize after several years of gardening that I can expect certain issues to arise. Learning what problems you are most likely to face only comes from experience.
This best advice for a new gardener is to take plenty of notes on the problems that you may face so that you can learn to properly treat it and then work on methods to prevent it for the next year.
Eventually you will gain plenty of knowledge on the topic of vegetable garden problems and issues that you can be one step ahead of them.
While dealing with these types of issues can be frustrating and dissapointing, the energy put into growing a garden that produces fresh food for your family is well worth it.
Dreaming of Having a Vegetable Garden this year?
Grab the Your Dream Vegetable Garden Plan for FREE to get you started today! Start growing your groceries this year!
Welcome to Wingin’ it on the Homestead! My name is Stephanie Leaf. I am a wife to a can-fix-anything husband, mother of two boys under 3, future expert gardener, lover of anything old and dusty, and inspiring homesteader. My family and I are new to this journey and loving every minute of it. Please join me in embracing a simpler life!