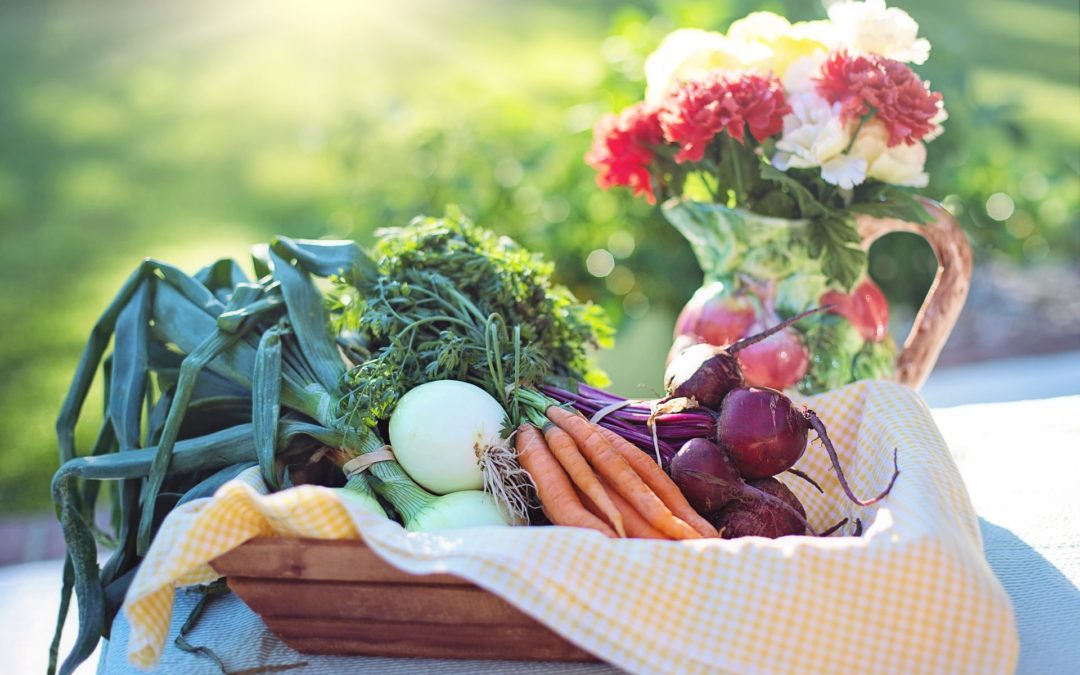
6 Vegetables to Plant in August for a Fall Garden

6 Vegetables to Plant in August for a Fall Garden

Many beginner gardens are so accustomed to starting a garden in April or May each year.  However, mid-August is also another great time to plant and start a fall garden. There are so many fall garden vegetables that you can plant in August for a fall garden and get a complete second harvest!

Planting vegetables at this time of year allows cooler crops to start and become established while the weather is still hot.  Once the temperatures cool down, cooler weather crops will start thriving and can be harvested after the first frost.

Read on for a list of 6 vegetables that you can plant in August for a successful fall garden.

Carrots

Carrots are a great fall crop because they can withstand light frosts.  Typically carrots harvest in around 70 days.  If I plant them in August with a first frost date in my location of around 10/15, I will really only have time for one succession crop.

I will plant a large crop and will plan to  enjoy some of them fresh but the majority, we will either freeze or can.  I will be looking to harvest them mid-to-end of October.  This is a really great way to keep your garden space saved for peppers, tomotoes, or cucumbers in the summer but then change over to carrots, beets, onions, etc for the fall.

Stop wasting your fruits and vegetables!

Grab the Ulimate Fruit and Vegetable Seasonal Guide for FREE to start properly storing your produce so you can stop throwing it away and start enjoying it longer.

Peas

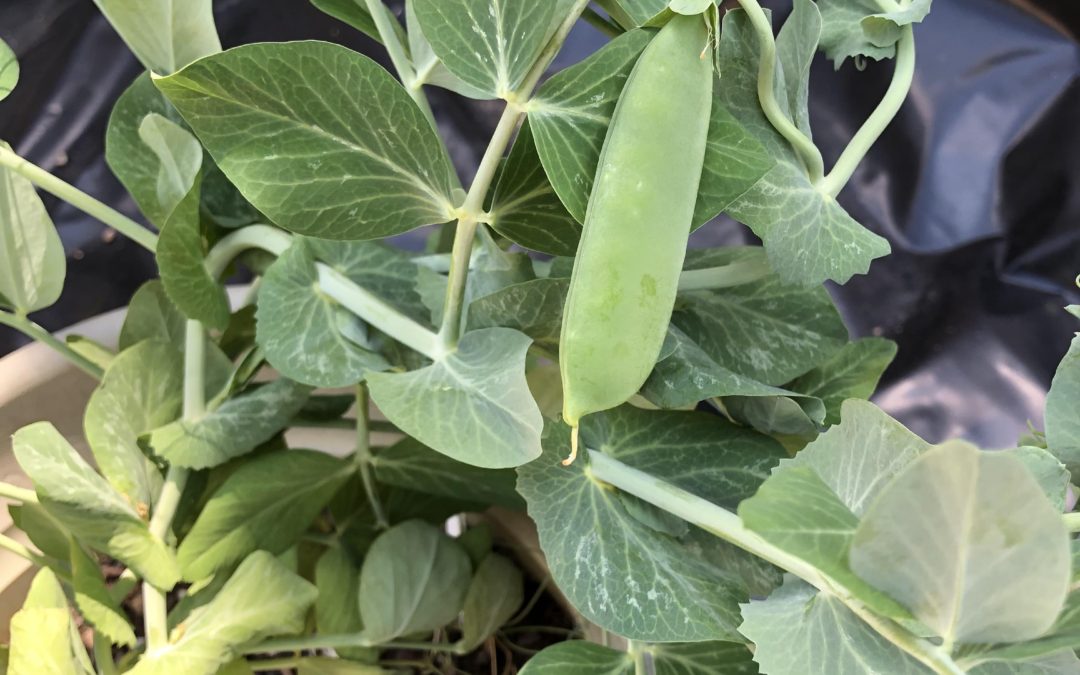
Peas are typically cool weather crops and do the best when planted in early spring and in late summer, avoiding the hottest season.

I love to use a variety of pea that does not need trellising and are tolerant to powdery mildew.

I have planted peas in the past with little success as a summer crop.  They really do hate the heat and have just withered up in the hot summer sun.  The only difficulty with a fall garden is finding space among all of the already thriving summer crops.

One technique is to plant them with a current crop so that they can thrive under the shade and protection of the already mature summer crop.

This year, I will be planting the peas among the already established tomatoes.  If I plan it right, I may even be able to use the trellises currently being used by the tomatoes once the tomatoes are done producing.  

The current tomatoes will provide shade from the hot sun and hopefully to deer and rabbits won’t find them right away.

Garlic

Garlic should be planted in late fall, early winter and will not be harvested until the next July.  Since it takes up so much space in the garden, it is important to do some planning now.  The garlic you planted in the winter will still be growing when it comes time to plant your spring garden. 

I have been trying to figure out where the best place to plant our garlic would be.  After some thought, I decided to keep my smaller plot in the front of my house dedicated to long term plants like my strawberry patch, and blueberry bushes. My plan is to save a portion of this plot for my garlic patch. 

To plant garlic, get cloves from a trusted source to ensure that it is suitable for planting.  Break the bulb apart into individual cloves, keeping the paper husk intact.  Plant in soil, about 2 inches deep, with the smaller end facing upwards.  The wide end should be faced down.  Then cover with soil.

A common practice is to then cover the bed with straw to provide mulch and protection from too much frost.  These will grow until it is time to harvest the following summer.

Stop wasting your fruits and vegetables!

Grab the Ulimate Fruit and Vegetable Seasonal Guide for FREE to start properly storing your produce so you can stop throwing it away and start enjoying it longer.

Lettuce

Lettuce is a must for fall gardening.  If you are able to throw in one last harvest, you should definitely do so before the winter.  Since lettuce does not preserve well, this will be your last chance to have fresh lettuce until next spring unless you take advanatage of some othe methods like cold frames or a greenhouse. 

Lettuce typically harvests in around 65-70 days. In mid-August, that really only allows about one more harvest. I plan to plant a large batch and hopefully have some big salads that week or give some away.

Beets

Similar to the carrots, beets are a wonderful fall crop.  The beets that I plan on planting require 60-65 days for a full harvest.  However, you can harvest and eat the beets at anytime, they may just me smaller than if you wanted for full growth.

The stems are also a great sources of nutrients and vitamins that can be used in a variety of dishes.  Beets can be presereved by freezing, canning, pickeling, or storing in a root cellar.

Radish

Radishes are a really great crop to plant for the early spring or fall gardens.  Radishes have a very short harvest time, which make them a really great plant to practice succession planting.  You can get quite a few harvest in during a few months.  They harvest in 29 days so they can be planted as late as early fall for the last harvest of the year.

If planted in early to mid-August, you could still get plenty of succession plants in and keep a steady supply growing.

Planting a fall garden is a great opportunity to get in some extended growing time and once it is worked into your yearly growing plan it can be so easy.  It is also a great way to grow some of those cooler crops while utilizing the shade and nutrients of the plants already growing. 

Growing a fall garden also allows you to spread out your harvesting and preserving so that you are not doing all of it at one time in July or August.

I am really looking forward to all of the awesome vegetables in our fall garden and I am excited about some of the vegetables that I have added that my family does not typically eat such as beets and radishes! Our kids pretty much eat anything so it will be interesting to see how they like some of these different vegetables.  One of the awesome reasons to plan a garden for your family!


Stop wasting your fruits and vegetables!

Grab the Ulimate Fruit and Vegetable Seasonal Guide for FREE to start properly storing your produce so you can stop throwing it away and start enjoying it longer.

6 Reasons to Start Homesteading Today

6 Reasons to Start Homesteading Today

It is funny to be how some people believe that homesteading requires you to buy a farm, move to the mountains of Tennessee and live off the grid.  While that is one form of homesteading, and sounds pretty awesome to me, this is not what homesteading looks like for many people.  In fact, there are so many motivating factors and reasons to start homesteading, they really are different for each person.

The awesome thing about homesteading is that you can incorporate practices of homesteading  to whatever degree you want to.  Homesteading is not all or nothing.  You can live a busy life and still take time to start living a more simple life.

What Homesteading Looks Like to Us

We consider homesteading to refer to a lifestyle where we incorporate time honored practices and skills into our daily lives in an effort to marry simple living with modern advances.  We are not planning on going all in and moving to a remote ranch with no electricity.  Instead, we are working to be self-sufficient in several areas of our lives.

For one, we are working to garden and preserve our own vegetables.  We have been growing vegetable gardens for a few years now and will hopefully increase our output to producing the majority of our own vegetables.  We would eat fresh and preserve the rest for use throughout the year.

Another area is learning self-sufficient skills so that we can do many of the jobs that we would otherwise pay someone else to do.

A common misperception of homesteading is that you need a large farm, tons of land, and plenty of free time to homestead.  This is completely not true!

There is a growing movement of people embracing urban homesteading, which means homesteading in apartments or with very small amount of land.

It is amazing what you can do and grow on a 1/10 acre lot!

Don’t get me wrong, there are many aspects of homesteading that are not easy and are time consuming but this doesn’t not mean that a busy mom who works full time can’t start homesteading.

With a little planning and organizing, you can start homesteading easily.

Why would you want to homestead?

The reasons are actually endless, there are SO many awesome benefits to homesteading and learning the skills that go with it.  Read on for more reasons to start homesteading today!

1) Vegetables, Fruits, and Herbs

Obviously, being able to walk outside and pick your own vegetables is a huge benefit to homesteading.  Gardening can be hard work but it is probably easier than you think.

Growing your vegetables not only brings healty eating practices to your family but knowing where your vegetables are grown and how they were grown is so important for awareness and health.

Knowing what chemicals were used on them is important.  Also growing your own vegetables is extremely satisfying.

Imagine growing your own tomatoes, being able to enjoy them during the summer while they are fresh and then preserving them to use in sauces or dishes through out the year.  Being able to feed your family by growing your own food means you will always be able to provide for them because you have this skill and knowledge.

2) Teaches your Kids Important Values

Homesteading has SO many benefits for children. This is the main reason we decided to start homesteading.  We have two small boys and it is our goal and responsibility to make sure that we mold them into confident, responsible, and knowledgeable humans.  For us, we really believe this can be done through homesteading.

Homesteading teaching kids so many values and life lessons. I have a hard time thinking of any other project or lifestyle that will help shape all of these interpersonal skills like homesteading can.

The awareness of where your food comes from and how it is processed also encourages gratitude.  Being able to work on a project with such a satisfying outcome as feeding your family helps build confidence and resourcefulness.

One of my previous articles discussed some awesome reasons to garden with your children, the benefits really are endless: insert article link: 17 Essential Reasons to Teach your Children How to Garden

3) Make your Own Home and Personal Products

Eliminating harsh chemicals and replacing them will all-natural, simple ingredients by making your own products is surprisingly simple! 

By making your own home products you can not only save a lot of money but you also know exactly what you are making and using in your home.

You can make all-natural alternatives to cleaning products, cosmetics, personal care, pest control, weed killer, laundry detergents, anything you buy at the store!

When I used to clean, I use to want to use harsh chemicals.  Really get in there and make sure the bathroom is scrubbed and super clean.  However, since  transitioning to more homemade products, I am finding that they are just as good and effective!

4) Save Money and Live Frugally

Saving money is also a large motivator for us.  While the cost to homestead is initially more than we expected, we needed to do some work to our yard and property, in the end the ability to produce our own food should save us a good amount of money each year.

Making your own products is also a great way to save money. While the initial cost of purchasing raw ingredients will be a little expense, the amount of cleaners and products you can make with it far outweighs the initial investment.

Living simply also encourages a frugal mindset that will transfer to all areas of your household operations.  Reusing, repurposing, and creating your own products will save you money and will encourage a lifestyle of being frugal and thoughtful of how your family spends money.

5) Learn Time-Honored Skills

I have always, since I was really little, loved learning about how life was in pioneer times. I went to a Living History Camp at a local farm museum several years and I absolutely adored it. 

We learned to make butter, candles, they had all of the old outbuildings so we learned about preserving food and taking care of animals. It was just awesome.

While this simpler way of life (if you can even call it that)it  is not by any means easier, to me it always had a certain romance and appeal to it.

I am excited to take time to learn how to do these time-honored tasks, not only for fun, but also for self-reliance.  My family will be prepared and will know how to live in the event that we can no longer buy our food or consumer goods from the store.  Essentially, we will never starve or not be able to take care of ourselves.  That reality is absolutely what we are chasing.

It is important that we do not let these traditional ways of living life fall by the wasteside. They absolutely have a place in our modern society.

We are striving to incorporate them when necessary to find a balance to living a happier, and more simple life.

6) Build a Strong Family Unit

One of my dreams for my family is for them to be a strong family unit.  I believe that one way to do that is to have all members of the family contribute to a higher goal, which in our case is taking care of and providing for our family.

Everyone will have their responsibilities and duties but we will be working to as a team to make it all come together.  We are just in the beginning stages of this, but our boys are young.  If we enforce these values and encourage these behaviors, we can raise them to be responsible, hard working, and respectful human beings. 

The positive reasons for homesteading really are endless.

By taking own a homesteading lifestyle, we are introducing a certain level of extra work and effort that may seem unecessary to some in today’s world. 

For us, it isn’t necessarily about giving up modern technologies and advances but embracing traditional, proven methods to providing your family with thier necessesities. The ability to be self-sufficient and take care of your family extends beyond bringing home money to pay for these necesitties. 

It really comes down to self-reliance and passing these skills down to our children to ensure they are well-rounded, grateful, thirsty for knowledge, and confident to do all of these things for thier family.

From impacting your family dynamic, your health, your finances, your outlook on life, we have faith that homesteading will bring our dreams to life.

How to Make Wineberry Vinegar

How to Make Wineberry Vinegar

One of the things that really excites me about June/July is how alive our homestead becomes.  Not only because of all of the vegetables and fruit that we cultivate ourselves on the property, but also because of the wild wineberries that grow all over our homestead.

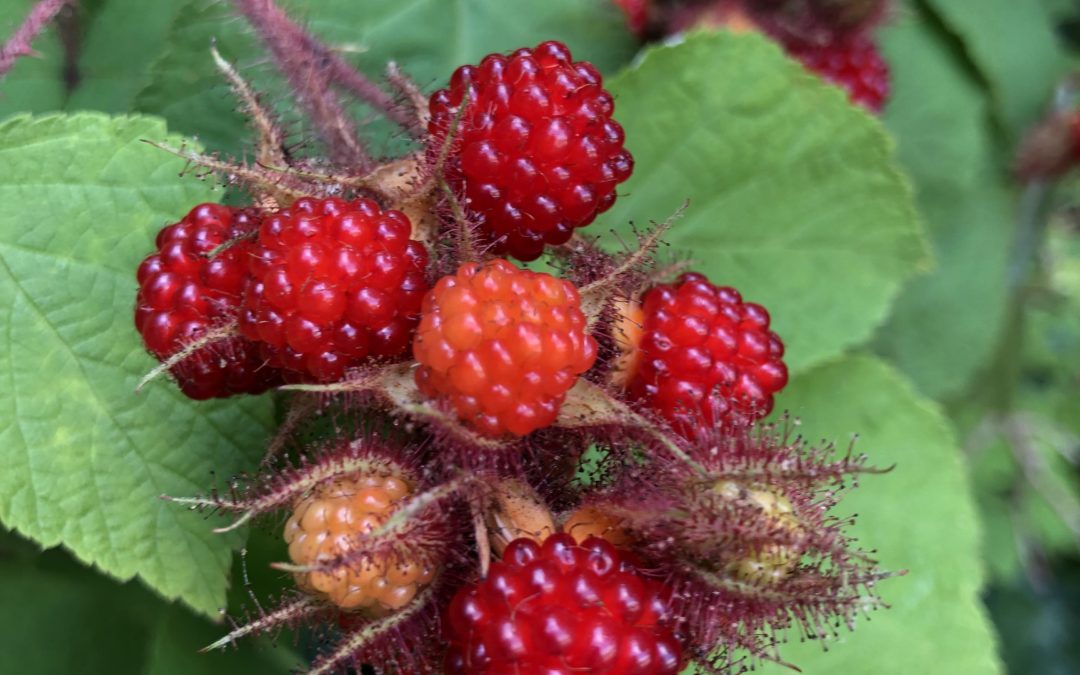
Commonly referred to as Japanese Wineberries, these awesome berries come out at the very end of June and usually last a only few weeks before they disappear until next year. They are such a treat that we look forward to each year.

What are Wineberries?

Wineberries are actually considered an invasive species.  This means that it is not native to the area and will spread and grow at a high rate, potentially causing damage to the environment and wildlife.

Boy, do they spread like wildfire!  Typically they are spread by other animals such as birds and deer eating the berries and transporting them to another area.

Every single year there is a new patch somewhere on our homestead.  I have a particular patch that I like to keep available but I remove every other plant that pops up.  This plant has thorny/furry vines that grow super fast and can be very hard to control and remove.

They grow very rapidly, mainly because when a shoot grows, the vine extends out vertically and then arches down to the ground. Once it hits the ground, it will root again and another vine will start.

How to pick them

Wineberries typically start producing fruit at the very end of the month of June to the first week of July.  They are pretty predictable, and I love that!  They start off as an orange berry and then get increasing more red in color as they ripen.  The best color to look for is a deep burgundy red.

When you pick them you want to be very careful because they are extremely fragile. There isn’t much holding them together and they will fall apart under the pressure of your faucet when rinsing.  They also do not freeze well so you will need to take that into consideration when harvesting them.

If you are planning on using them for culinary purposes, I recommend picking them early in the morning when the temperature is still cool and then immediately putting them into the fridge until you plan to use them in the next 24-48 hours.

Picking them when it is hot is not a great idea because they become much more fragile under high temperatures.

Check them for bugs before eating.  Many times I find these little green grasshopper-like bugs on them so make sure to remove them before popping it into your mouth!

How to enjoy them

Since these berries are so fragile and difficulty to handle, they are really best eaten right off the vine.  However, since we have SO many of them, I really wanted to find ways to use and preserve them.

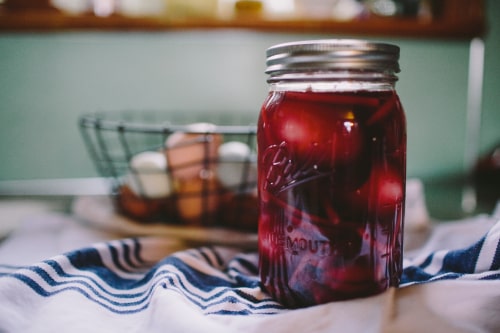
Making a Wineberry infused vinegar or essentially a wineberry vinegarette, is an awesome way to use your wineberries.

I love making vinegars, it is such an awesome idea for gifts and can be used in so many ways.

The recipe I use initially came from this Taste of Home: Raspberry Vinegar. You can find the original article here:

I alter it depending on how many berries I have picked.

Wineberry Vinegar Recipe

Ingredients and tools:

  • 1.5 cups of Wineberries
  • 2 cups vinegar (I use white wine vinegar)
  • 1/4 cup sugar
  • Mason jars with lids
  • Vinegar jars
  • Cheesecloth

The first step is to pick as many berries as you possibly can.  You are looking for a deep burgundy color.  Once you have a large amount of berries, about 1.5 cups for 2 small vinegar bottles. If you are picking them during the day when the temperature is hot, put the bowl directly into the fridge for a few hours to chill them prior to rinsing.  The berries are very fragile and even more so when they are warm.  Rinsing them before chilling could destroy the berries.


Once chilled, lightly rinse with water, removing all dirt, leaves, or bugs.  Lay our to air dry on papertowels.

Once dried, put berries in mason jars.

Combine vinegar and sugar into a saucepan and bring to a simmer, do not boil.  Stir until all sugar is dissolved.

Pour hot vinegar mixture into mason jars over berries.  Place lids on and tightly screw on bands.

Place jar in a dark space for 48-72 hours.

Once done, transfer vinegar mixture to a vinegar bottle by straining berries with a cheesecloth.  I strained my mixture into another mason jar and then used a funnel to pour the strained vinegar into the vinegar bottle.

Enjoy! It is great to serve as a wineberry vinaigrette on a salad.  Store in a dark place.

Wineberry Vinegar Recipe

Prep Time 2 days

Ingredients

  • 1.5 cups wineberries
  • 2 cups vinegar I use white wine vinegar
  • 1/4 cup sugar

Instructions

  1. Pick berries and put straight into the fridge. If you pick them when the temperature is warmer, you will want to chill them before rinsing. If the berries are warm, they will fall apart until the pressure of the faucet.

  2. Rinse berries, removing all leaves, bugs, and dirt.

  3. Lay out to let air dry from a few minutes to reduce the amount of extra water.

  4. Place berries in a mason jar.

  5. In a large saucepan, bring vinegar and sugar up to a simmer, stirring constantly.

  6. Heat until all sugar is dissolved. Do not boil.

  7. Pour hot vinegar over berries in mason jar.

  8. Tightly crew on lid and metal band.

  9. Put jar in dark space for 48-72 hours.

  10. Transfer to vinegar bottle by straining berries using a cheesecloth.

  11. Store in a dark place.

Garden Progress 6/28/19

Garden Progress 6/28/19

Our garden is really growing great!

I LOVE the part of the growing where everything seems to double in size every week, it is just give me such a sense of progress and forward movement.

I can’t get too comfortable though because before I know it I will have more harvest then I know what to do with!

Here are some highlights:


Broccoli

Ok, I swear I planted broccoli seeds in this one pot at the beginning of the season and it started rapidly growing. 

But, It didn’t look like broccoli.

Was it really broccoli?

 If not, what the heck was it?

I had no idea so I took a picture and posted it on the Mother Earth News Facebook Gardening Group and ask for help identifying it.

This Facebook Group is a great resource for plant identification, there are so many experts in that group and they are all so helpful and excited to practice their plant identification skills! If you ever need help, go there.

SO what was it?

It was a highly invasive weed called Pigweed, or Amaranthe.  I was advised that the leaves are edible and highly nutricious but whatever I do, do not let that plant go to seed!

I was told it will take over everything if I let it go to seed.  I decided to just pull it out and dump it in my weed pile in the woods.  I kind of regret not tasting it tough! Maybe next time.

Cucumber

They are coming!

So cute, they look like little pickles!

Zucchini

Every year we have had to battle blossom end rot with our zucchini plants.

I thought this year may have been different since we planted them in pots instead of in the ground.

Unfortunately, I noticed this week that we were having that same issue.  After some research, I found out that this is due to a calcium deficiency.  Several sources suggested adding eggshells as a natural remedy.

Why not try it?!  I ground up some eggshells and threw it in the soil, I will let you know if it helps at all!


Lemon Balm

My poor lemon balm hasn’t been doing too great, which is weird because it is suppossed to be a really easy herb to grow!

The leaves started turning a red/brown, they aren’t dying but they are changing colors.

MY first thought was that they were getting way too much hot sun and so I moved it to a shadier spot.  We will see.. I will let you know if there is any improvement.

Next Steps

We should be getting some great vegetables soon!

Also, our June berries should come in any day now!

They are such a treat!

Garden Update 6/3/2019

Garden Update 6/3/2019

Do you feel like you are behind with your garden this year?  If so, you are certainly not alone, this is a feeling I have been struggling with lately.

I can’t help but feel like I am already behind and our plants are just getting started.

I feel like this is pretty common feeling this time of year, regardless of whether you started your garden from seed or from transplant, there is also a lot of energy needed in the very beginning of the season.

Cleaning your garden up from the winter, preparing your soil and beds, and planting your plants or seeds, many of these tasks are required to be done early in the season.

Once they is done, it is sort of a waiting game with much less effort until the plants start producing.

Watering and monitoring progress only take so much energy each week. The extra free time tends to give me the feeling that I am slacking in my garden responsibilities.

If you are experiencing this period of down time, relax! We should enjoy the quiet time right now, because the work will pick up again soon.

Here are a few of our failures and successes this week:

Success #1: Beans

Our beans and peas are starting to sprout, hopefully I can keep them alive, fingers crossed.

Failure #1: Tomatoes

Since the cats ate our tomatoes seedlings back in April, I had to direct sow our tomatoes plants in our raised beds.  Unfortunately, they all died.

Luckily, we had one last option to ensure that we can have a harvest of some sort.  That option is to purchase and plant transplants.  I bought the following transplants from a local store:

2 Roma Tomato plants

2 Bonnie Original

1 Heatmaster

1 Sweet Million Cherry Tomato

1 Strawberry (I couldn’t resist, I always end up with one plant that I did not plan on purchasing.

While it is not my first choice to use transplants, I figure I will try my hand at starting from seed but in the worst case scenario, I can always purchase and plant transplants.  At least our raised beds look really pretty now:

Success #2: Mystery plant identified!

Every year we have this mystery plant that pops up and everyyear, I pull it out.  This was always done with extreme care because I was sure that it was poison.

This year, I took a picture of it and posted it on the Mother Earth News Gardening group asking for help identifying it. It caused quite the debate over whether it was a fig tree, or a sassafras tree.

Either of those, would be really cool to have! After many comments and suggestions to tasteand smell it, I am 95% sure it is a fig tree!  How awesome is that?!

Unfortunately it is in the worst spot possible, so I am going to try to figure out how to move it.  I really hope I do not kill it.

Failure #2: Some seeds from last year are not growing

I tried to reuse some of my seeds from last year for our summer squash and broccoli. Neither of them are growing, so I grabbed some transplants and planted those, I figure, I might as well fill those pots with something growing.

Next Steps

Build a fence, these plants will start growing and I need to keep out the rabbits and deer.