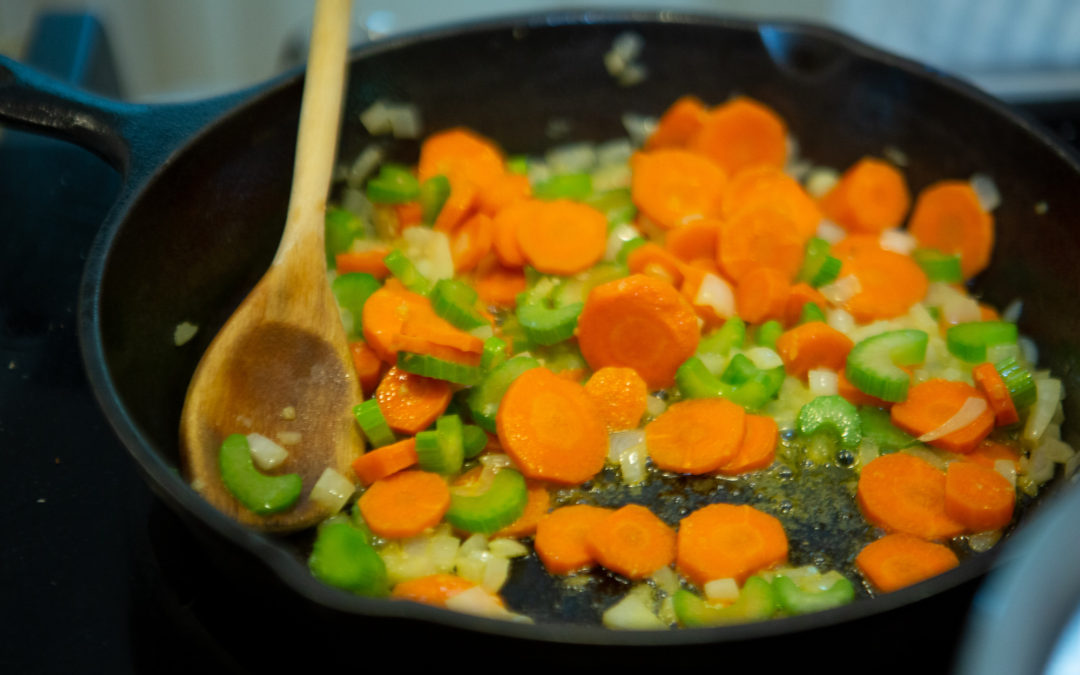
3 Tips to Help You Start Cooking From Scratch Today

3 Tips to Help You Start Cooking From Scratch Today

While cooking from scratch is a satisfying endeavor, it can certainly feel intimidating and time consuming if you are not prepared. 

However, preparing yourself to make homecooked meals using scratch ingredients is something that anyone can learn and will find that it is surprising easy to manage.

Cooking from scratch is something that is an ongoing learning project for me.  I think that we do pretty good in this category, about 90% of our meals are cooked from home and about 80% of that is completely homemade from scratch.  That was definitely a work in progress as I learned to cook over the last 5 years.

Cooking from scratch to me is all about the ingredients that you are using.  I love to follow recipes but I also love to just wingit’ sometimes. 

Many times it seems so much easier to just use prepackaged, processed foods but in reality, with some planning and practice, you will find cooking from scratch is actually pretty easy.

The biggest misconception about cooking from scratch is that it is time consuming.

Follow these tips to make cooking from scratch, fast, easy and fun!

Your 1st Step to a Simple Living Lifestyle!

A great place to start with Simple Living is to start making your own cleaning and personal products!

With this FREE eBook, you can easily get started with over 10 quick but effective recipes that use ingredients you already have in your house!

1) Build a solid “From Scratch” pantry

Cooking from scratch is so much easier to manage when you are intentional about building a stockpile of staple pantry items. 

The importance of keeping a well stocked fridge and pantry is paramount to providing an easy cooking from scratch practice.

Without pantry staples, the planning required to make a from scratch meal is much more intensive.  Having to worry about buying herbs and other pantry items with each meal would be troublesome, however, this is how you will build your spice cabinet and pantry slowly.

You want to make sure you have spices, oils, baking goods, sweetners, and condiments on hand.

For a complete list: grab our Simple Living Starter Kit which includes a from scratch pantry checklist to help you make sure that you have a well-stocked pantry!

Your 1st Step to a Simple Living Lifestyle!

A great place to start with Simple Living is to start making your own cleaning and personal products!

With this FREE eBook, you can easily get started with over 10 quick but effective recipes that use ingredients you already have in your house!

2) Start with making ONE thing from Scratch

The easiest way to start cooking from scratch is to start by making one thing that you are using in a dish or meal that is packaged or processed and make it from scratch.

Being able to find a substitute for a packaged item, is usually very easy.  My favorite substitutions for items that we had made were our own Taco Seasoning, using a blend of herbs, instead of the packets sold in the grocery store. We found that the flavor was much better and we could use it in various quantities depending on how much ground beef we used.  We really enjoy this recipe:

Another recipe that we have used to substitute a package product is a copy-cat recipe for cheddar broccoli rice a roni.  We used to use rice a roni packages all the time until I realized it was just rice and a packet of spices that I could totally do myself.  The recipe I use now uses real broccoli and real cheddar making it a hearty side that actually takes care of the starch and vegetable portions of the meal.  So easy!

You can definitely do this yourself.

This week take something that you would normally use a packaged, processed item and make it homemade.

Some suggestions are: flour tortillas, macaroni and cheese, soup, and mashed potatoes.

Cooking from scratch is so much more attainable when you make little steps and incorporate different skills along the way.

3) Learn to Meal Plan

One of the most important skills for cooking from scratch is meal planning.  Really, in order to cook from scratch easily, there needs to be some sort of advanced planning

Whether it is weekly meal planning, stockpiling pantry and fridge staples, batch cooking, or freezer meals, planning in advance is a must do.

Once you get the hang of it, it will also make your life so much easier! There is nothing worse than coming home from work, or hitting 4:00 and not having anything planned or prepared for dinner.  For me, that is SO stressful!  However, if I schedule too far in advance, I stray from my schedule.  I have found that for us, about 5 days is the extent of my meal scheduling.

Once a week, usually the night before I grocery shop, or even that morning, I will check out our fridge and freeze to see what we have on hand.  I will make a list of about 5 meals that I can make from what we have or add items to our grocery list. 

I will go through everything that needs to be made for those meals and make sure we have it on hand.

I will then try to plan out my husband’s lunches for work and figure out lunches for us at home.

That is really it, totally manageable!

Try these tips at home this week and see if you have slowly incorporate scratch meals into your busy life!

The biggest setback for me in the begining was a lack of confidence in the kitchen.  After plenty of burned meals, I am not confident in cooking our favorite meals and confident enough to try new recipes!

You will make mistakes and will serve less than perfect meals or dishes but ultimately, the skill of cooking from scratch will become the norm for your kitchen and the outcome will be beyond satisfying! 


Your 1st Step to a Simple Living Lifestyle!

A great place to start with Simple Living is to start making your own cleaning and personal products!

With this FREE eBook, you can easily get started with over 10 quick but effective recipes that use ingredients you already have in your house!

How to Make Beautyberry Jelly

How to Make Beautyberry Jelly

If you have ever seen a beauty berry bush in full bloom, you would certainly understand how this amazing bush got it’s name.   It is absolutely beautiful when it is at the peak of it’s season.

The Beauty Berry bush is a deciduous shrub that has green leaves that grow outward from the center of the bush. On these branches, between the green leaves grows a bright purple hard-shelled berry. The berries typically come out in late summer, early spring. It can grow up to 3-5ft tall.

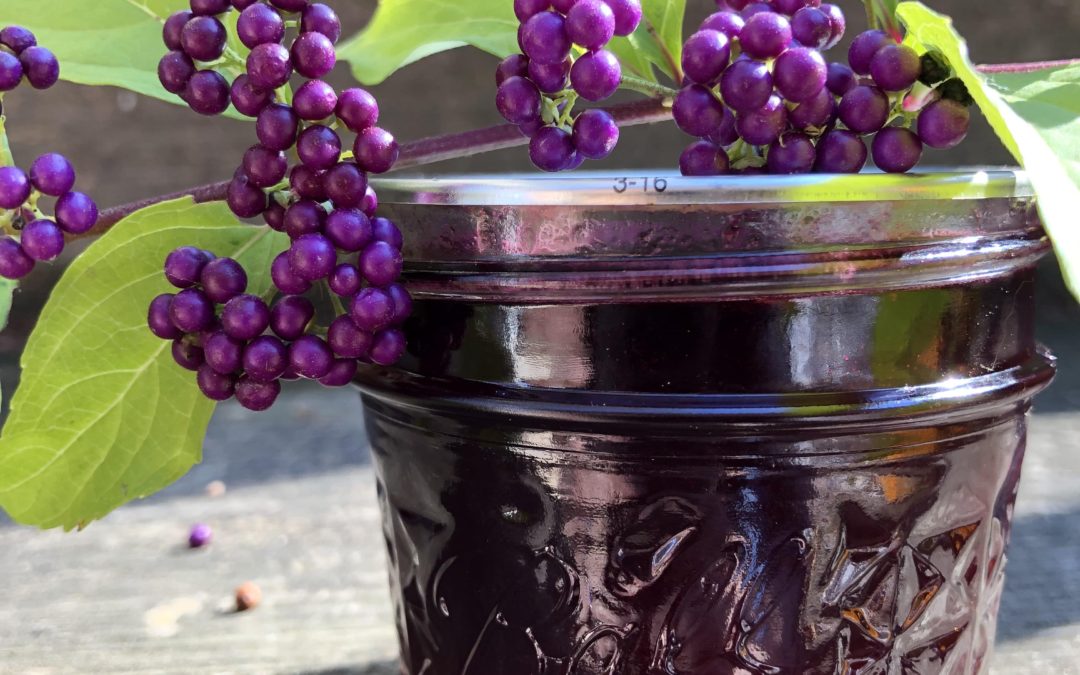
I love this bush. We bought our house in September so this bush was in full swing at the time we settled on it.  We have one large bush near our back door and I just love it. Look at that purple color!

The vibrant purple/magenta berries are small, perfectly round, and just plain beautiful.  They are not toxic but do not have a particularly great taste right off the bush.

Throughout the last couple years while researching how best to care and prune this bush, I came across recipes for Beautyberry jelly.  This year, I finally tried to make some, and it was really easy!

The flavor is sweet and spicy, not hot but like a sweet cinnamon.  It really is quite different and unique.  I definitely recommend trying it if you have a bush in your backyard.

Here are the ingredients that you will need:

  • Beautyberries
  • Sugar
  • Pectin
  • Water
  • Cheesecloth
  • Canner
  • Jars, lids, and rings

Beautyberry Jelly

I checked out a couple recipes when doing my first batch.  I wanted to get an idea of ratio between water, berries, pectin, and sugar.  I had a small amount of berries and many of the recipes called for at least double to amount of berries I was going to use. 

If you have more berries, use this recipe and adjust amounts accordingly.

Step One:  Pick your Beauty berries. This is the hardest part of the entire process. The berries are so small, it takes a lot of picking to get enough to make a batch of jelly.  Even when you think you have picked enough, double it! I assure you.  We had to go back out several times to even get 3 cups of berries.

Step 2. Clean berries by removing leaves, sticks, bugs, etc.  You should be left with a clean bowl of beautiful berries!

Step 3.  Bring 3 cups of beautyberries and 4 cups of water to boil in a large saucepan.  Stir and smash berries while they boil for about 20 minutes.

Step 4. Spoon berries out of the water and strain through a cheesecloth.  Squeeze as much juice out as possible.  We were left with a little over 1 cup worth of pure beautyberry juice. 

The juice was so pretty!

Step 5: Add juice back to the saucepan and bring to a boil.  Make sure you keep a lid on this while it is boiling, you do not want to cook off your juice, especially if you are working with a small batch.

Step 6: Add 1-2 Tablespoons of pectin and stir into juice.

When looking at a different recipe and trying to make it fit with my smaller batch, this was the ratio they used:

2.5 cups of berry juice to 1 envelope of pectin to 4 cups of sugar.

I had about 1 cup of berry juice and I used about 2 Tablespoons of pectin, and 1.5 cups of sugar. 

You do not want to use too much pectin! Less is definitely more.

Step 7: Add sugar and stir into juice mixture.  We used about 1.5 cups.

Step 8: Once sugar is dissolved, pour mixture into already sanitized and heated jelly jars.

Step 10: Make sure you have a headspace of 1/4” and screw lids and rings on tightly.  Process in a waterbath canner for 10 minutes.


 Make sure you pick as many beautyberries as possible!!

Step 11: Enjoy on toast, biscuits, etc.   The flavor is perfect for fall, it takes like a sweet cinnamon.  Enjoy!!

Ways to Enjoy a Peach Harvest

Ways to Enjoy a Peach Harvest

We love peaches here.  My kids love to eat them in fruit cups, my husband loves peach cobbler, and we all really love to just each them whole.  Sometimes I serve plain, fresh peaches for dessert and they are delicious.  There are many ways to use a peach harvest so that you can enjoy peaches long after they go out of season.

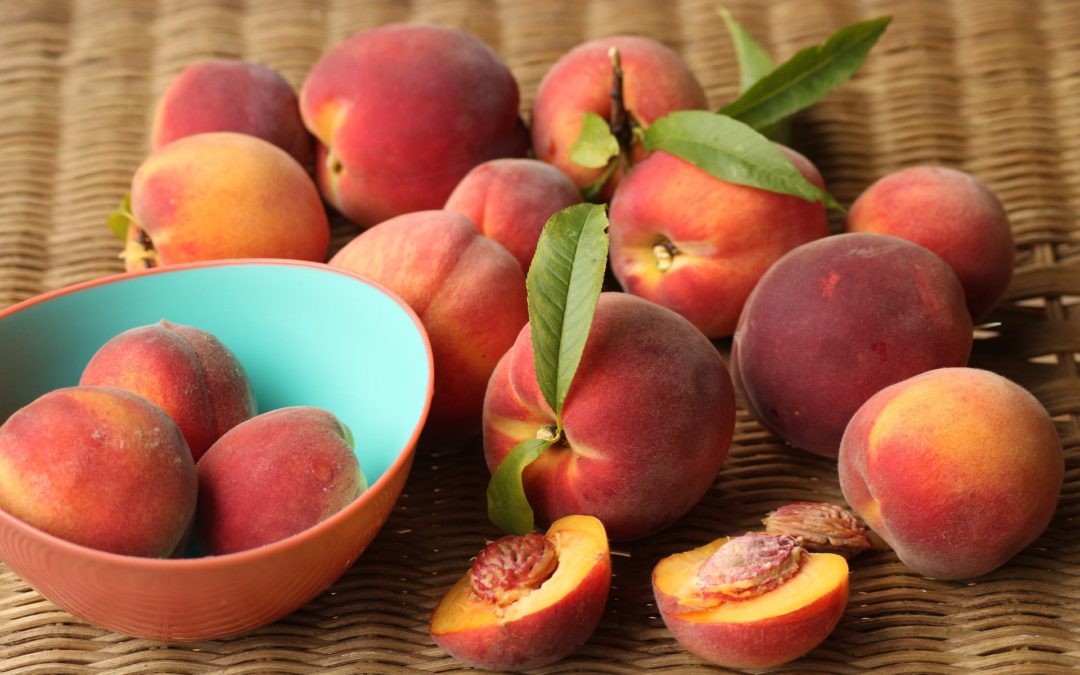
End of August – September is peach season here for us.  The other week I went to a local farm and bought a ½ bussel of #2 peaches.   “Number 2” produce basically means second rate.  This means that the fruit or vegetables are not as visibly appealing and number 1. They could be smaller size, have some bruising or spots, be deformed, or overripe.  The peaches that we purchaed were mostly just small.  Other than that, they were is pretty good shape.

We do not have a peach tree on our property so this local farm is really the next best thing!  I purchased a ½ bussel of peaches for $9.99.  It included about 40 or so peaches.  What do I do with all of those peaches? Surely, I didn’t want to make that many canned peaches.

Here is what I did with them:

  • Made a peach cobbler that we were able to enjoy immediately.
  • Made 6 jars of canned peaches that we can enjoy in the future in a variety of ways,.
  • Made 5 jars of peach butter.

Peach Cobbler

My husband and my youngest son have back to back birthdays.  So last year, we were looking for a dessert recipe that I could make for husbands birthday that was not cake.  We did not need two cakes in one week!

I found this recipe for “Old Fashioned Peach Cobbler” from Tastes Better From Scratch, which couldn’t be easier.   In our opinion, it is really too sweet so we made some adjustments to meet our preference.

Canned Peaches

Step 1. Blance peaches.  Boil a pot of water.  Cut an X into the bottom of the peach and drop in a few peaches into the boiling water.  Let boil for 60-90 seconds.  Remove and put directly into a bowl of ice water.  This should allow the skin to pull off super easily.

Step 2. Peel peaches and slice them, not to too thin, but not smaller than quartered.

Step 3.   Bring 12 cups of water, 2 cups sugar, and the sliced peaches to a simmer.

This was definitely a lesson that I learned.  When I made these, I made the syrup of water and sugar but I did not add the peaches into the syrup and cook them.  This caused them to cook in the jars during the canning process.  While this is not an issue, it caused the peaches to shrink up within the can.

Cooking them a little prior to placing them into the jars, will cause them to shrink before packing them, allowing them to be packed more tightly.  This allows for a much cleaner appearance.

Step 4. Spoon peaches into war, sanitized jars.  Pour syrup over peaches in each jar. Add 1 Tablespoon lemon juice to each jar.

Step 5: Remove bubbles and check headspace.  Headspace should be 1/2 inch.  Center lids and screw on rings tightly.

Step 6: Water bath can: 20 min for pints, 25 min for quarts.  Once time is up, turn off heat, take off lid, let sit for 5 min.  Remove jars from bath and set on towel on countertop.

Step 7: Store up to 18 months with rings removed.  Do not stack on top of each other while storing.  Make sure jars are sealed properly before consuming.

Peach Butter

Step 1: Blanche Peaches.  Slit peaches and drop in boiling water. Boil for 3-4 minutes and then transfer to a bowl of ice water.

Step 2: Peel and slice the peaches. You can even chop them up a little more so that they cook down faster.

Step 3: Add to a pot and bring to a simmer, stirring occasionally.

Step 4: Add cinnamon sticks and sugar to taste, I added 3 cinnamon sticks, and about 1 cup of sugar.  I did add sugar periodically after tasting.

Step 5: Just keep cooking in on the stove top, careful to not let it burn. Leave the lid off so that the water cooks out. Keep cooking, it took us a few hours.  Use a potato masher to break up chunks if necessary.

Step 6:  Once it reaches a consistency that is desired, spoon into sanitized, warm jars.

Step 7: Remove air bubbles and check headspace.  There should be 1/4 in headspace.  Center lids on and screw on ring.  Water bath can for 10 minutes for small jelly jars.

Step 8: Turn off heat, take off lid, let sit for 5 minutes.  Remove jars from bath and set on towel on countertop.

How to Make Candied Jalapenos

How to Make Candied Jalapenos

My family loves Jalapenos, we use them on so many things.  We typically have tacos or nachos at least once a week and we go through tons of jalapenos because of it.

This year we had 3 jalapeno plants that produced SO many beautiful jalapenos.  I typically make a batch of Jalapeno Poppers for a cookout or family dinner, my family loves these! They are always a hit.

We got another wave of jalapenos come through and I needed to find a great recipe to make that we would be able to preserve and enjoy.  I have never had Candied Jalapenos, but I thought it would be an awesome opportunity to try it.  It really couldn’t have been easier.

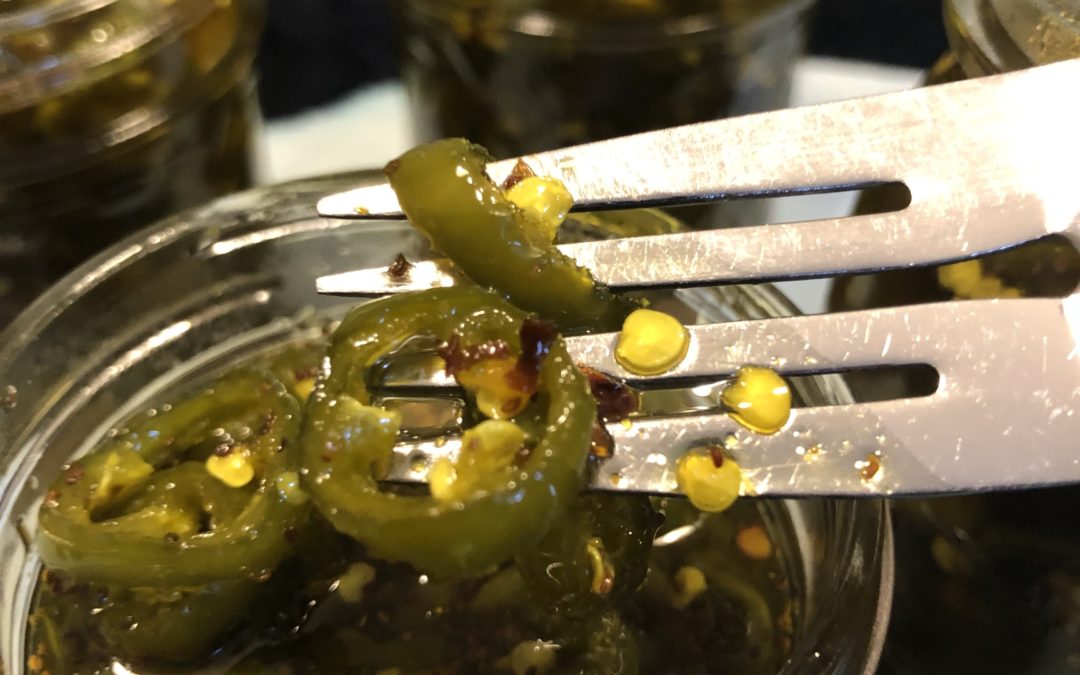
And they are delicious!!  Spicy and sweet, so good on so many things.

I originally found the recipe at: Frugal Living NW but I adjusted the amount of ingredients based off of my harvest.

Ingredients you need:

  • Fresh jalapeños
  • White granulated sugar
  • Apple cider vinegar
  • Granulated garlic powder
  • Celery seed
  • Ground turmeric
  • Red pepper flakes
  • Mason jars and lids

The original recipe asked for 1 pound of jalapenos.  Since I do not have a scale to weight them, I decided to double the syrup recipe so that I made sure I had enough.  I am glad I did because I had the perfect amount of syrup.  Having left overs is not nearly as bad as not making enough, in fact every recipe that I read said the syrup was a great addition to so many things, such as adding it when making you own BBQ sauce.  I think that is an awesome idea!

I am estimating but I had about 40 jalapenos to work with, this was about 5 cups of jalapenos once slice.

Measured Ingredients

  • 40  jalapeno peppers, about 5 cups sliced
  • 4 cups white granulated sugar
  • 1 1/3 cup apple cider vinegar
  • 2 teaspoon granulated garlic powder
  • 2 teaspoon celery seed
  • 1 teaspoon ground turmeric
  • 1/2 teaspoon red pepper flakes
  • Mason jars with rings and lids

Step 1

Using gloves, cut the stems off of the jalepenos and slice into 1/4 inch slices.  You may remove some of the seeds if you would like to control the heat.

MAKE SURE YOU USE GLOVES!

Handling jalapenos and the touching your face or eyes will cause real discomfort!  You are doing a lot of cutting so be careful!

Step 2

Add all ingredients except jalapenos to a large sauce pan.  Stir to combine and then bring to a boil.

Lower temperature to a simmer and cook until all sugar is dissolved, stirring occasionally.  This will take about 5 minutes, do not burn the sugar!

Step 3

Add jalapenos to the pot and stir until coated.  Raise temperature to bring it to a boil.  Reduce  temperature to simmer for another 5 minutes, until jalapenos are tender.

Step 4

Once jalapenos are tender, remove jalapeno slices with a slotted spoon and transfer to glass jars.  You want to jars relatively full.

Step 5

Return the syrup to the heat and bring to a simmer.  Cook for about 5 more minutes to reduce the liquid and create a thicker syrup.

Step 6

Using a ladle, transfer the syrup to the jars pouring over the jalapeno slices.

Step 7

Place lids and rings onto jars.  Screw rings on tightly.  Allow to cool and store in the fridge for up to 3 months.  You can can this recipe if you desire to extend the shelf life.

Step 8

Serve as a topping on hamburgers, steaks, hotdogs, anything really! Eat on crackers with cream cheese. Add to dips, sauces or salads. So many possibilities!

Notes

  • WEAR GLOVES when working with jalapenos.  Seriously.  You do not want to wipe your face and get some juice in your eyes.
  • If you are able to use a mandalin for the slicing, it would save you so much time.  You want to cut them like ¼ inch thick.  You want them to be consistent in their size, otherwise you will end up with some over cooked and some undercooked.
  • My slicer was way too think so I sliced them by hand. Regardless, WEAR GLOVES!!
  • Once you add the jalepenos to the syrup mixture, open a window, that stuff gets potent!  I certainly coughed a lot. If you are sensative  you may want to wear a face mask because just breathing in all of that spicyness can cause couging and eye watering.
  • Save the left over syrup to add to homemade sauces or salads. That is some tasty stuff!


Candied Jalapenos

Spicy Jalapenos in a sweet sugar syrup

Cook Time 15 minutes

Ingredients

  • 5 cups sliced jalapenos About 40 whole jalapenos
  • 4 cups white granulated sugar
  • 11/3 cup apple cider vinegar
  • 2 tsp garlic powder
  • 2 tsp celery seed
  • 1 tsp ground turmeric
  • 1/2 tsp crushed red pepper flakes

Instructions

  1. Wearing gloves, cut the stems off of the jalapenos and slice into 1/4 inch slices.

  2. Add all of the ingredients EXCEPT the jalapenos to a large sauce pan. Stir and bring the temperature to a boil. Lower the temperature to a simmer stirring to dissolve the sugar.

  3. Add the jalapenos to the pot and stir until coated. Raise temperature to a boil and then reduce to a simmer. Cook until the jalapenos are tender.

  4. Once jalapenos are tender, remove with a slotted spoon and transfer them to the mason jars.

  5. Return the syrup to the heat and simmer for a few more minutes to reduce the liquid and thicken the sauce.

  6. Using a ladle, pour the syrup over the jalapenos in each jar, covering them.

  7. Place the lids on the jars and screw the lids on the jars tightly.

  8. Allow to cool and place in the fridge for up to 3 months.

  9. Serve on hamburgers, hotdogs, salads, anything really!

4 Common Watering Mistakes to Avoid

4 Common Watering Mistakes to Avoid

Making sure that your garden routinely gets a sufficient amount of water every week is one of the most important tasks for a gardener.  Even though the concept of creating a watering routine seems obvious and easy, there are many different ways to manage the watering of your garden so that you do not make these common watering mistakes.

The past year, I have made some major changes to the way that I water my garden.  In previous years, I would just go out to the garden in the evening, and spray my hose nozzle over the garden for a few minutes and call it a day.  Or if I would go out and determine that more water was needed, I would water that specific plant.  Or I would just pray for some rain so that I would not have to water that day.

I made so many mistakes and my garden suffered because of it.  I bet you are also making some of these common mistakes, but don’t worry, they are easy to fix!

Take a look at these common watering mistakes to avoid.

1) Shower Watering Instead of Soaking

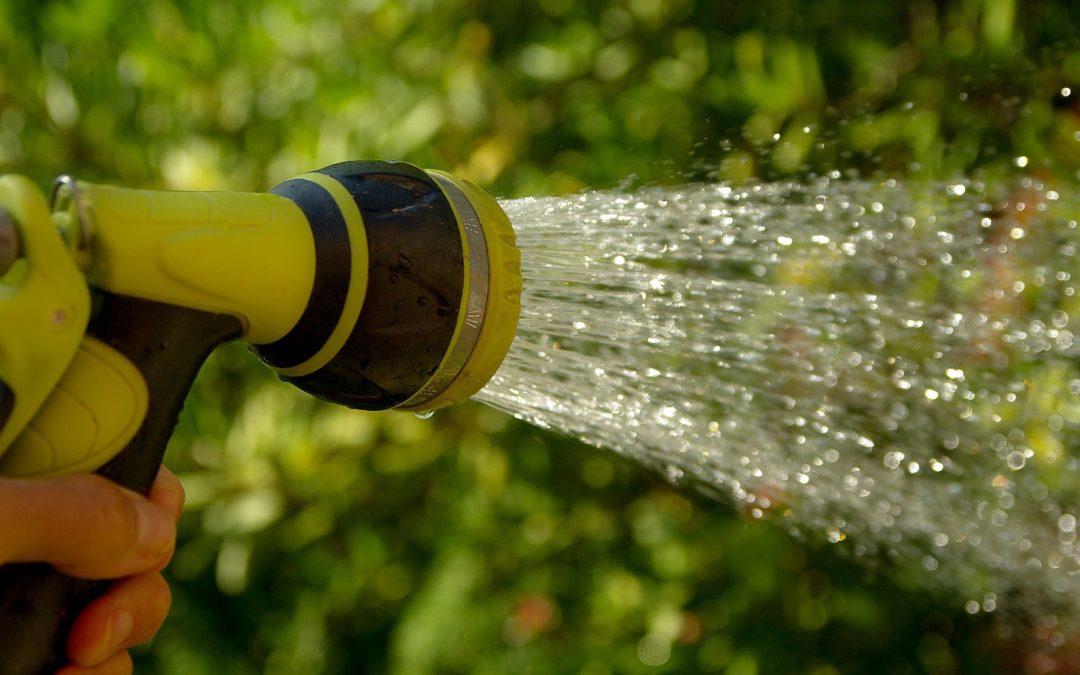
One of the most common mistakes that new gardeners make when watering their garden is using the shower watering method.  This method is when you shower the garden with the water from overhead.  I totally used this method when I first started gardening when I had no idea how to properly water my garden.  At the time, this just seemed to make sense.

There are several reasons as to why shower watering is not a good idea.  One of the major reasons that you do not want to shower your vegetable garden from above is because this method does not allow for the majority of the water into the soil.  Instead water will collect and stay of the leaves and stems.  This attracts pests and encourages fungus and bacteria growth which could damage and kill your plants.

Once vegetable plants are grown and established, it is very hard to properly soak the soil underneath if you are watering from above and are trying to water over top of the large plants.  This method works fine when you are watering grass or ground cover but for vegetables, herbs, and potted plants, the best method is soaking. 

Instead of shower watering, you should be soaking your soil.  I spent several years watering the garden from above but since I have started watering using the soaking method, I have seen a much better results in less fungus and disease.

Soaking simply means you are watering the soil at the base of the plant directly.  It seems so obvious now that I have been doing it this way for a while.  The best method for doing this is using soaker hoses.  By laying soaker hoses along the rows of plants, you can turn on the water and the water will be slowing leaked out into the soil.

I do not use soaking hoses but I will be incorporating them into my larger, expanded garden next year.  For now, I just make sure that instead of showering the garden overhead, I focus the hose nozzle into the beds and pots and directly water the soil around the plants.  You want to water deeply and thoroughly. 

2) Watering Too Much

I totally water my plants to much.  Believe it or not, this causes a lot of problems! For best result, only water when the soil is dry.  Check the dampness of your soil before watering.  A common rule of thumb is if the soil is damp two inches down, you can wait to water. If it dry, give it a good soaking

The amount of water will also depend on if you are planting in boxes or pots, or if you are planting directly into the ground. Pots and boxes drain quicker and will need to be watered more frequently.

Make sure to watch the weather for heavy storms and adjust your watering routine accordingly.

3) Watering During the Heat of the Day

Watering during the hottest part of the day is most certainly a mistake that I have made in the past.  Typically, the hottest part of the day is in the afternoon from 1:00 – 4:00 p.m.  This is hard for me because the best time for me to give my garden the most attention has always been while my boys are napping.  This is between 2:00 and 4:00 in the afternoon, usually the hottest part of the day!  I struggle with checking on the garden during this time, seeing that it could really use some water, and waiting until later to water it.  Usually by that time I forget!  When you water during the heat of the day you run the risk of the water evaporating off and not soaking your plants thoroughly. 

While watering in the evening is better in this regard, the best time to water your plants is in the early morning hours.  Doing it at this time allows the plants time to perk up and receive the sun once it comes out for the day without evaporating or contributing to the growth of fungus.

4) Inconsistent Watering

This is a common issue and an easy mistake to make.  It took me a very long time to establish a proper watering routine, and I am still not the best at it.  Since I am now expanding it, I will need to adjust my routine for next year.  Watering should be more of a routine of prevention and care then a reaction to your plants doing poorly.  In the past, I would water when I felt like it was needed but also let nature take care of it when it rained.  Unfortunately, this resulted in uneven watering which leads to a whole slew of issues with your plants.  Blossom end rot for zucchini, squash, and tomatoes where a big one that I have experienced.  Cracked tomatoes are also a cause of too much water while the fruit was developing.

It may take a year of good monitoring to get the proper routine down.  It will also changed throughout the season as seedlings and new plants need more watering than more mature plants. 

These watering mistakes are so easy to make.  Putting a little focus into a watering plan and routine will really help some of the issues that you may have faced in past years.  There are also ways to make the watering process easier and more automatic such as using soaker hoses and timers.  If you have a big garden, it may be worth the investment in order to avoid overwhelm with watering the plants a few times a week. 

Watering your plants is one of the most important tasks in a garden. With a good plan, routine, and the correct tools, you can save yourself a lot of trouble and time when it comes to damaging pests and diseases that could destroy your future crops.