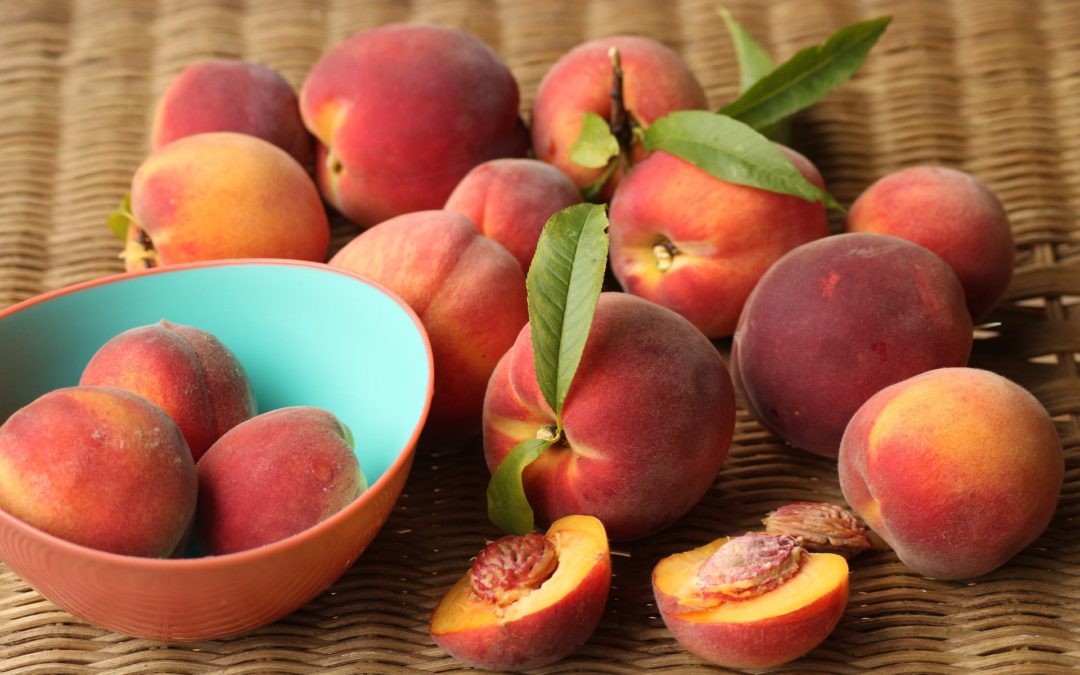
We love peaches here. My kids love to eat them in fruit cups, my husband loves peach cobbler, and we all really love to just each them whole. Sometimes I serve plain, fresh peaches for dessert and they are delicious. There are many ways to use a peach harvest so that you can enjoy peaches long after they go out of season.
End of August – September is peach season here for us. The other week I went to a local farm and bought a ½ bussel of #2 peaches. “Number 2” produce basically means second rate. This means that the fruit or vegetables are not as visibly appealing and number 1. They could be smaller size, have some bruising or spots, be deformed, or overripe. The peaches that we purchaed were mostly just small. Other than that, they were is pretty good shape.
We do not have a peach tree on our property so this local farm is really the next best thing! I purchased a ½ bussel of peaches for $9.99. It included about 40 or so peaches. What do I do with all of those peaches? Surely, I didn’t want to make that many canned peaches.
Here is what I did with them:
- Made a peach cobbler that we were able to enjoy immediately.
- Made 6 jars of canned peaches that we can enjoy in the future in a variety of ways,.
- Made 5 jars of peach butter.
Peach Cobbler
My husband and my youngest son have back to back birthdays. So last year, we were looking for a dessert recipe that I could make for husbands birthday that was not cake. We did not need two cakes in one week!
I found this recipe for “Old Fashioned Peach Cobbler” from Tastes Better From Scratch, which couldn’t be easier. In our opinion, it is really too sweet so we made some adjustments to meet our preference.
Canned Peaches
Step 1. Blance peaches. Boil a pot of water. Cut an X into the bottom of the peach and drop in a few peaches into the boiling water. Let boil for 60-90 seconds. Remove and put directly into a bowl of ice water. This should allow the skin to pull off super easily.
Step 2. Peel peaches and slice them, not to too thin, but not smaller than quartered.
Step 3. Bring 12 cups of water, 2 cups sugar, and the sliced peaches to a simmer.
This was definitely a lesson that I learned. When I made these, I made the syrup of water and sugar but I did not add the peaches into the syrup and cook them. This caused them to cook in the jars during the canning process. While this is not an issue, it caused the peaches to shrink up within the can.
Cooking them a little prior to placing them into the jars, will cause them to shrink before packing them, allowing them to be packed more tightly. This allows for a much cleaner appearance.
Step 4. Spoon peaches into war, sanitized jars. Pour syrup over peaches in each jar. Add 1 Tablespoon lemon juice to each jar.
Step 5: Remove bubbles and check headspace. Headspace should be 1/2 inch. Center lids and screw on rings tightly.
Step 6: Water bath can: 20 min for pints, 25 min for quarts. Once time is up, turn off heat, take off lid, let sit for 5 min. Remove jars from bath and set on towel on countertop.
Step 7: Store up to 18 months with rings removed. Do not stack on top of each other while storing. Make sure jars are sealed properly before consuming.
Peach Butter
Step 1: Blanche Peaches. Slit peaches and drop in boiling water. Boil for 3-4 minutes and then transfer to a bowl of ice water.
Step 2: Peel and slice the peaches. You can even chop them up a little more so that they cook down faster.
Step 3: Add to a pot and bring to a simmer, stirring occasionally.
Step 4: Add cinnamon sticks and sugar to taste, I added 3 cinnamon sticks, and about 1 cup of sugar. I did add sugar periodically after tasting.
Step 5: Just keep cooking in on the stove top, careful to not let it burn. Leave the lid off so that the water cooks out. Keep cooking, it took us a few hours. Use a potato masher to break up chunks if necessary.
Step 6: Once it reaches a consistency that is desired, spoon into sanitized, warm jars.
Step 7: Remove air bubbles and check headspace. There should be 1/4 in headspace. Center lids on and screw on ring. Water bath can for 10 minutes for small jelly jars.
Step 8: Turn off heat, take off lid, let sit for 5 minutes. Remove jars from bath and set on towel on countertop.
Welcome to Wingin’ it on the Homestead! My name is Stephanie Leaf. I am a wife to a can-fix-anything husband, mother of two boys under 3, future expert gardener, lover of anything old and dusty, and inspiring homesteader. My family and I are new to this journey and loving every minute of it. Please join me in embracing a simpler life!